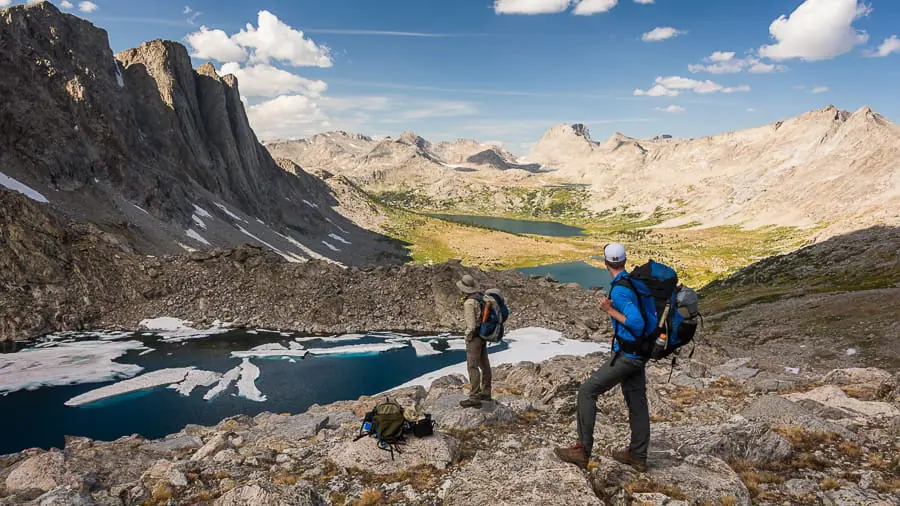
The biggest mistake photographers make is owning too much equipment.
I only use 1 camera body, 2 lenses, and a tripod to create all my photos.
If a piece of camera gear does not improve your photos by 10X, get rid of it:
- It takes a specific amount of time to master each piece of photo equipment.
- The more equipment you own, the longer it takes to master photography.
Buy the best camera gear you can afford, then shoot with it for 10 years, or until your skills outgrow the gear.
Over the past decade as a full-time photographer, I’ve learned what works & what doesn’t.
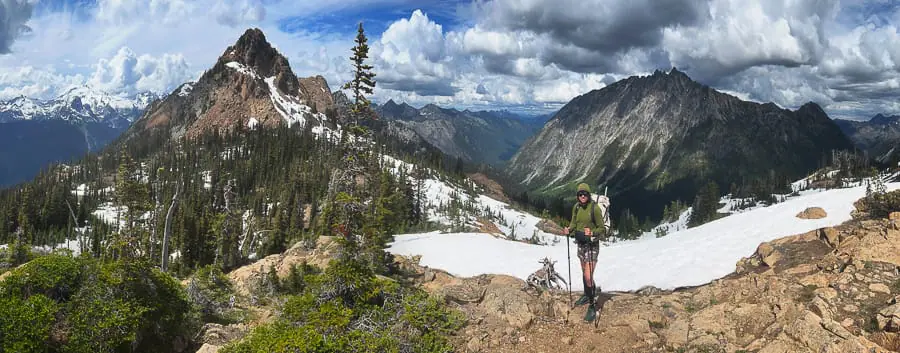
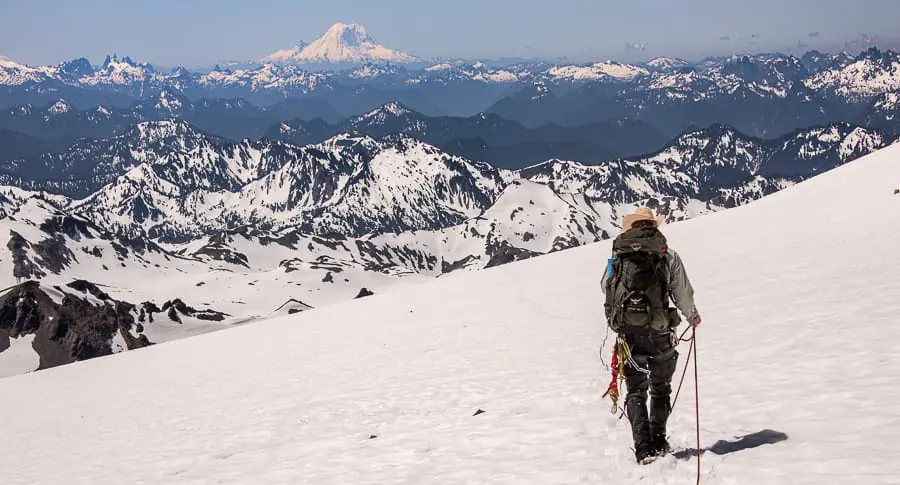
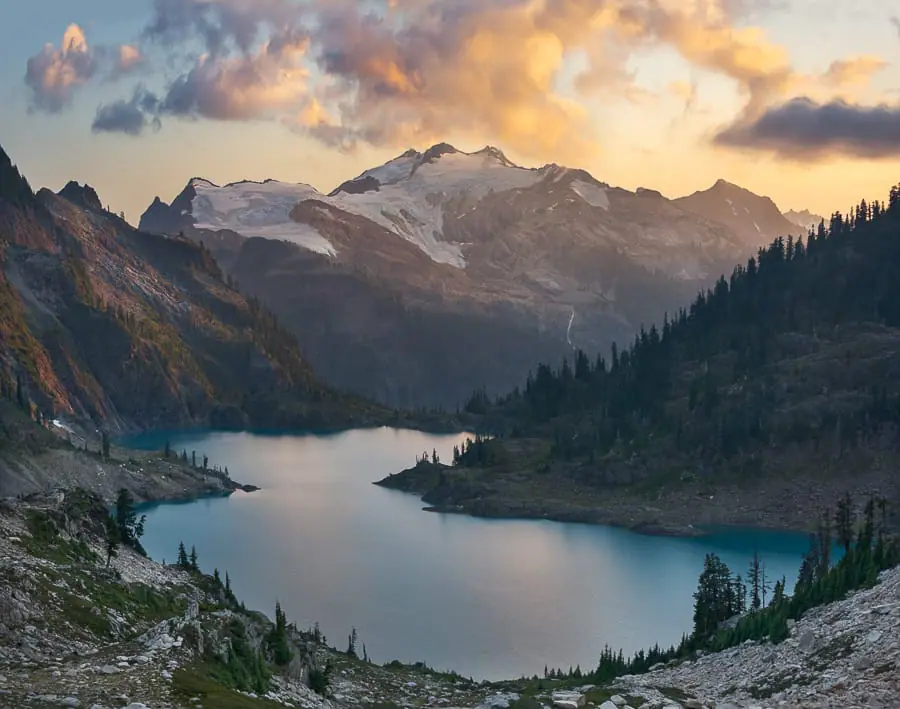
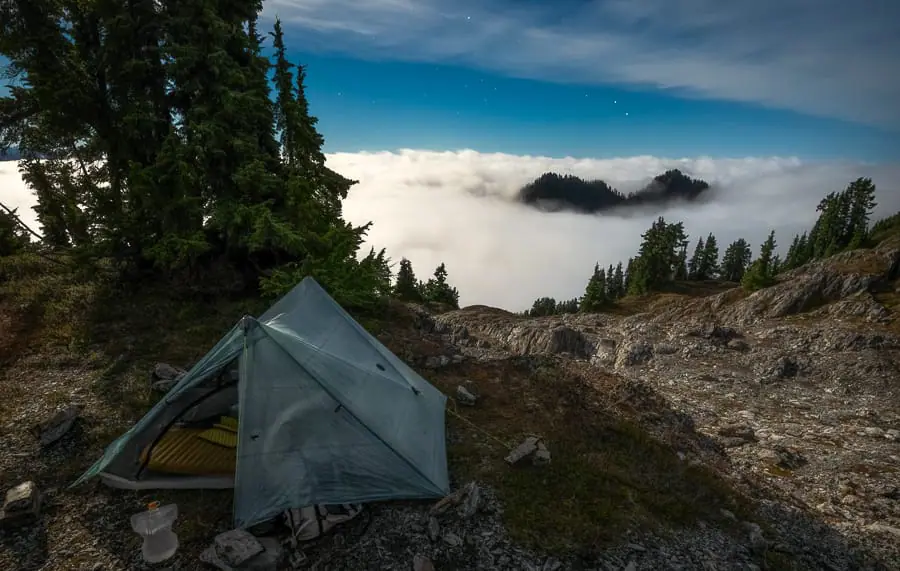
This guide walks you through my favorite landscape photography gear & why I chose it.
Page Table of Contents
Use the links below to jump to the gear section of your choice, or scroll down to read them all.
Best Camera for Landscape Photography
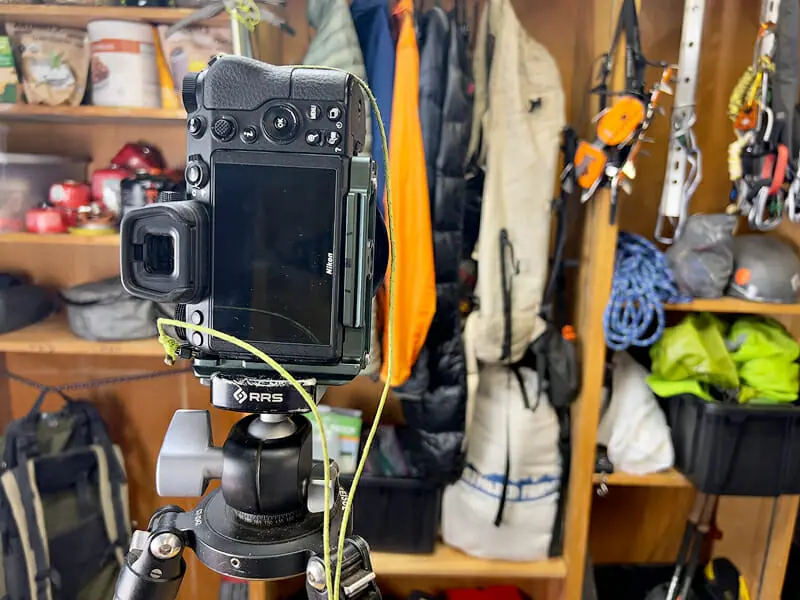
My Camera Kit:
- Nikon Z7
- L-Bracket + Loctite to secure the screw
- Memory Card
- 2mm Cord for the Camera Strap
Why I Chose It
There are 3 main functions that a camera needs to perform well for landscape photography.
Number 1 – High Dynamic Range
Dynamic range is the range between the brightest and darkest pixels that can be captured in a single RAW file when exposed to the right.
- The higher the camera’s dynamic range, the more data it can capture in a single RAW file.
- Exposing to the right I rarely have to take more than one RAW file no matter how much contrast is in a scene.
I’ll use the single RAW file and process it multiple times using RAW Smart Objects in Photoshop to create the same outcome as taking multiple RAW files at different exposure values in the field.
This cuts down on the total number of shots I need to capture in the field & organize at home.
On a week-long hiking & landscape photography trip, I may only take 5-10 “Heck Yeah” Photos in total.
Number 2 – Large Megapixel Resolution to Carry Less Lenses
Instead of carrying a large, heavy & expensive telephoto lens in the 300-400 mm range, I shoot with a 200mm lens and crop it to achieve 300-400mm focal lengths digitally.
The long edge resolution of the Z7 is 8256 pixels wide.
Shooting at a 200mm focal length, I’ll visualize the actual composition inside the current one.
- 200mm cropped to 300mm is still a 5498-pixel wide resolution.
- 200 mm cropped to 400mm is 4128-pixel wide resolution.
Both results are still plenty big to print.
It’s a great habit to add 10% extra space around the outside of each composition in the field, even while shooting wide.
This leaves room for error in every composition.
Then when you get home you can crop in 10% or leave it as is.
I’m sure we have all come home from a shoot and wished one of the compositions had just a little more room around the edges.
Large megapixel cameras make this easy.
Number 3 – Live View with Real-Time Histogram
The best way to consistently take the correct exposure with the best f-stop, shutter speed, and sharp focus, is to use live view.
Live view gives you a real-time view of your current settings, and exposure applied to the current composition.
Using the histogram in live view & exposing it to the right, ensures the perfect exposure for every single shot.
Wide Angle Lens
My Wide Angle Lens Kit:
Why I Chose It
First, take the lens hoods off all your lenses and throw them out.
In the rare times there is sun flair, just use your hand to block it while watching in live view.
Second, a circular polarizer (CPL) should stay on every lens at all times except late twilight & night sky.
This produces the best color & also protects the lens.
Without a lens hood, you can easily adjust your CPL, clean the lens, and set your camera up much quicker.
There are 3 main functions that a wide-angle lens needs to perform well for landscape photography.
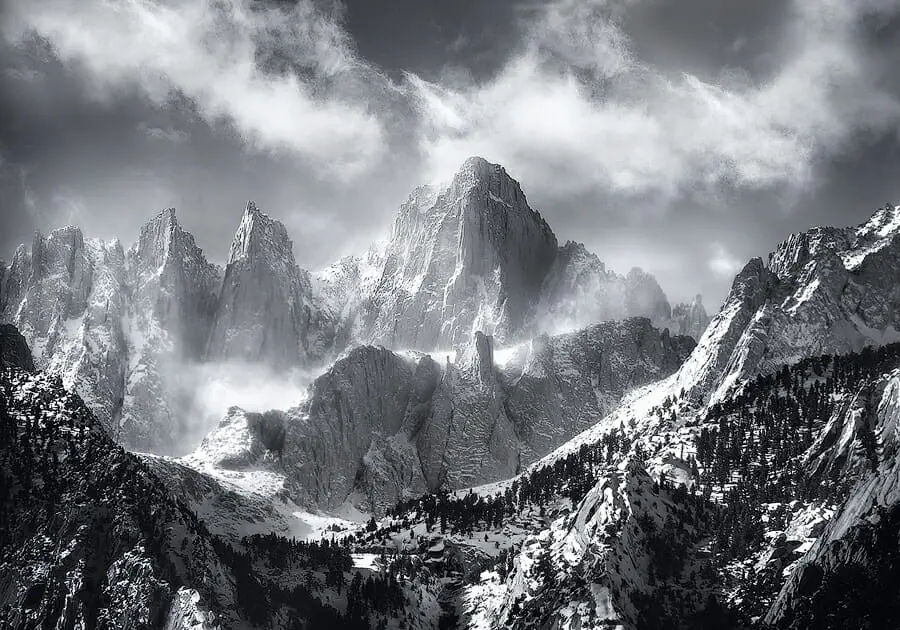
Number 1 – Wide Enough to Capture Massive Scenes
16mm focal length wide-angle lenses just don’t cut it while shooting massive landscapes.
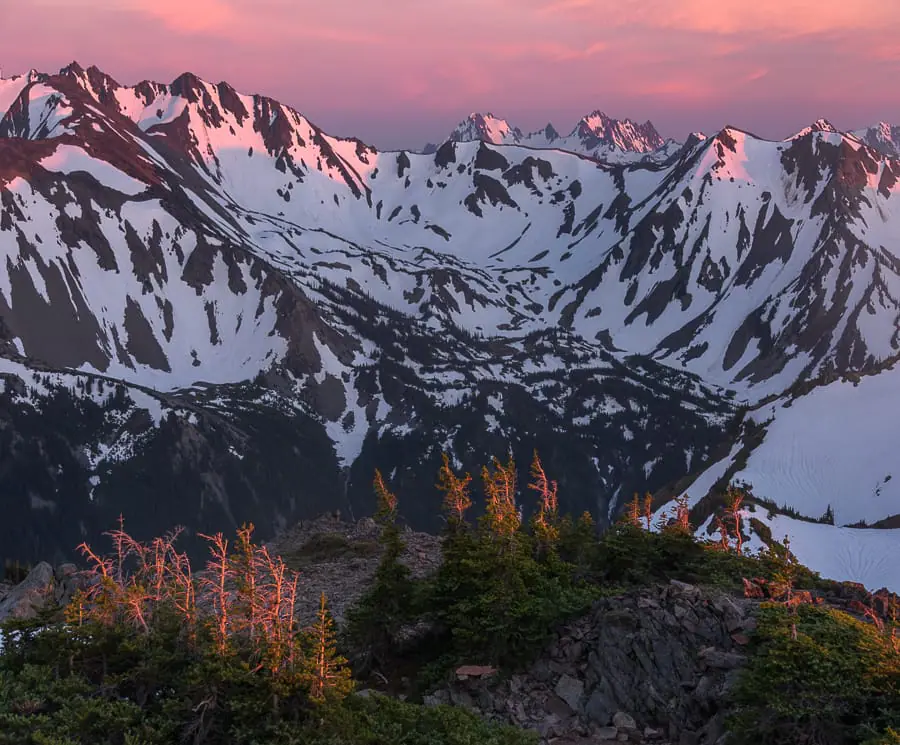
The best landscape photos come from drastic, massive scenes with good light.
If it’s impossible to capture a large portion of the sky, as well as the close foreground while shooting 15,000-foot tall peaks then your lens is not wide enough.
I’ve never come up short while using a 14mm lens.
Number 2 – Low Light Capability
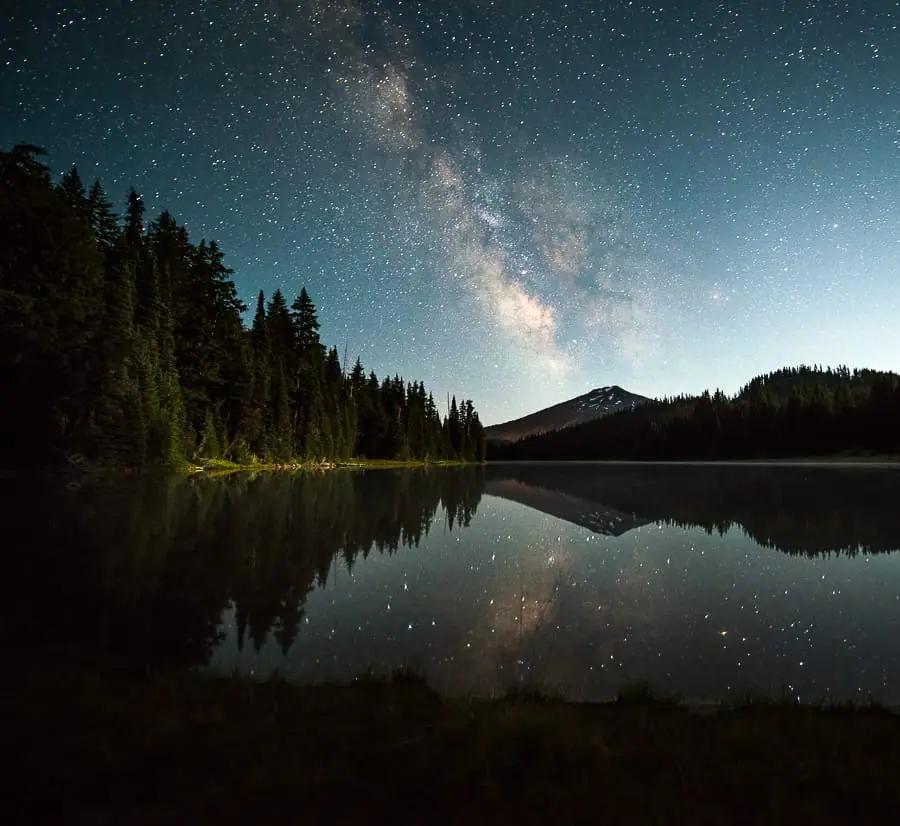
Shooting with new full frame high dynamic range cameras such as the Z7 it’s no longer necessary to use an f/2.8 lens for night sky photography.
The f/4 lens I use is much sharper, lighter, and less expensive than my old f/2.8 lens.
For night sky just shoot at f/4 and increase the ISO 1 stop.
- The f/2.8 lens will give you slightly less noise, but I don’t find it to be very noticeable, especially when viewed on a computer.
- With f/4, the depth of field is larger making the night sky and foreground sharper.
The only reason f/2.8 lenses were required before was to reduce noise by capturing more light in the field.
The noise response of the new full-frame cameras is so good that this single stop of ISO increase doesn’t matter much.
Number 3 – Sharp Around the Edges with Low Distortion
Cheap wide-angle lenses become “soft” and distorted around the outside of the lens.
This makes your foreground or background look out of focus, even with the perfect hyperfocal point.
With a cheap wide-angle lens, it’s impossible to tell if you selected the wrong focal point, or if it’s the lens.
This makes it impossible to improve your skills and photos.
Telephoto Lens
My Telephoto Lens Kit:
Why I Chose It
The goal of a perfect lens setup for landscape photography is to cover your entire range of focal lengths from 14mm to 200mm with only 2 lenses.
This keeps the number of lens decisions for each shot to 2.
Wide or telephoto.
I promise your images will improve from removing lens decision fatigue.
By using the tips in the “Best Camera” section above, you now have a 14mm-400mm effective focal range.
I recommend choosing your wide-angle lens first.
After knowing the max focal length of your wide-angle lens, select a telephoto lens that covers out to 200mm.
If there is a slight overlap or gap in focal lengths between your wide angle max focal length and telephoto minimum focal length it’s not a big deal.
You don’t need an f/2.8 for the telephoto lens EVER.
It’s also not necessary to have the lens stay at f/4 while shooting at the max focal length.
While shooting focal lengths of 150mm or more, you’re going to be shooting at f/11 to f/16 anyway, or your photo won’t be sharp.
Tripod & Ballhead
My Ultralight Hiking Tripod Kit (23 oz):
My Favorite Tripod Kit (50 0z):
Why I Chose It
Buy one nice tripod setup and keep it forever. It won’t wear out.
A cheap plastic tripod, without an L-bracket, will ruin your photos more than a cheap camera.
The L-Bracket is essential!
It allows vertical shots to be centered over the tripod, instead of out to the side.
This drastically increases image sharpness and the stability of the tripod.
It also makes setting it up much quicker.
The tripod should be a simple ball head with a single movement lever clamp to install and remove the camera.
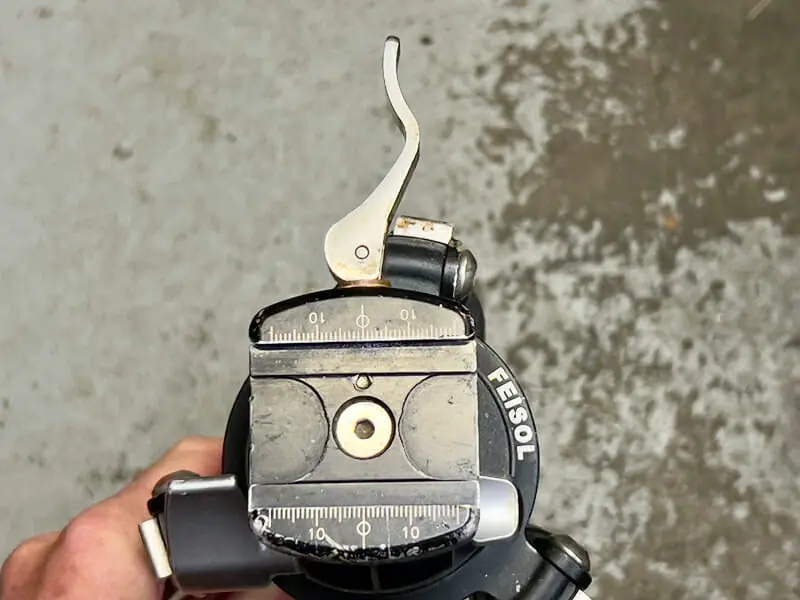
Screw tighteners are very slow and not as stable.
Screws are also much more prone to failure than a lever.
There should only be 1 camera adjustment knob on the ball head.
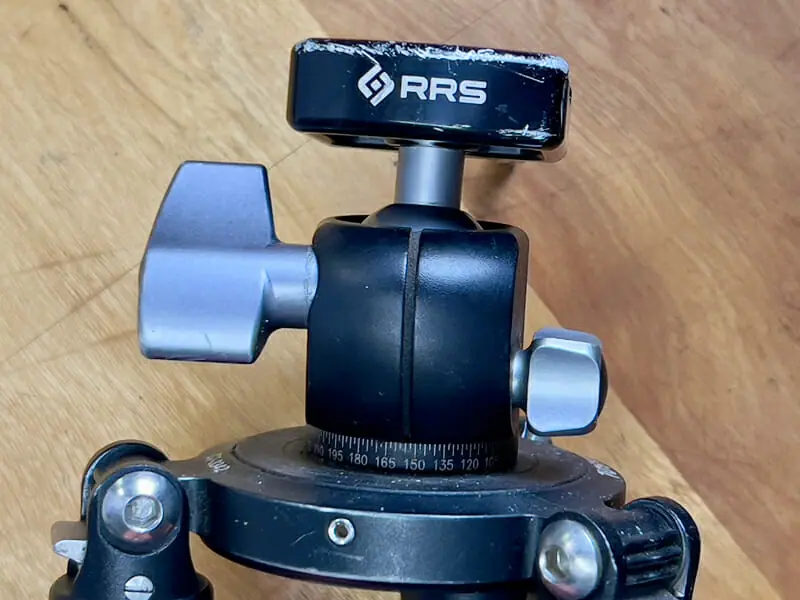
The knob on the right never moves. It fixes the ball head to the tripod.
The knob on the left controls all movement of the camera on the tripod.
The goal is to control the camera with your right hand and adjust the composition using the tripod knob with your left hand.
More than 1 knob is too complicated & adds more decisions to your creative process.
The biggest pain point I see when teaching workshops is the battle with a complex or unstable tripod head.
The tripod should only have 3 sections of lightweight carbon fiber.
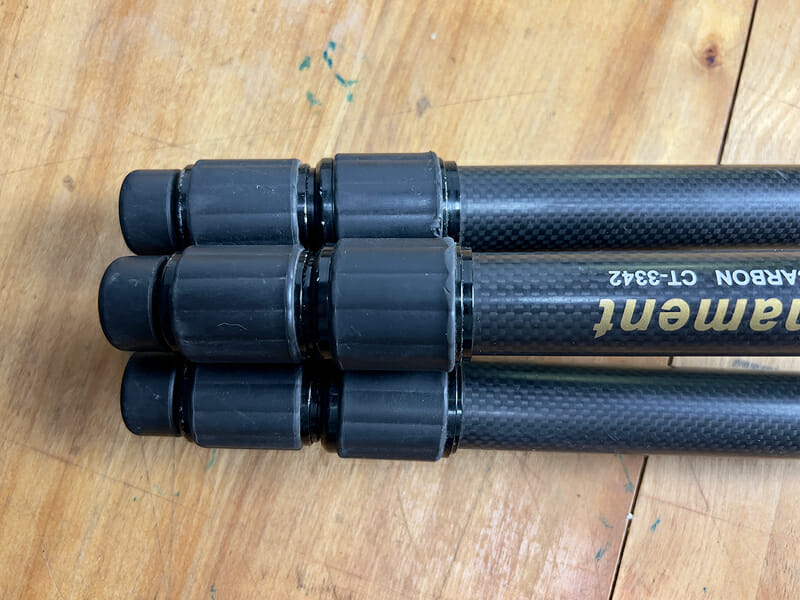
Notice how there are only two adjustment knobs for each leg.
This makes setting it up much quicker and there are fewer points of failure.
4 section tripods are not as sturdy and cause images to be out of focus due to motion blur.
Carbon fiber is not only lighter, but it also dampens shake which improves image sharpness.
Do not buy heavy & overpriced tripods like Really Right Stuff.
They are overkill.
Backpack & Camera Case

My Photography Backpack & ICU / Camera Case:
- Hyperlite Mountain Gear Pack – Northrim 55L: My go-to pack for all trips. My Hiking Checklist & Guide
- Camera / Lens ICU Case: This case is very light and fits all of my camera equipment and batteries.
- 3 Batteries: I also carry a USB-C charger that plugs into my camera for long backpacking trips. This recharges the batteries.
- 2 ziplock bags: 1 for charged batteries and 1 for dead batteries.
- 2 small microfiber lens cloths inside a plastic bag.
- 1 Allen wrench/hex bit: Only carry the size for your tripod and L-Bracket.
Why I Chose It
I don’t recommend photography backpacks.
- They are heavy, soak up rain, and have way too many compartments that add complexity to your life.
- The more pockets a pack has, the harder it is to remember where everything is.
- This makes it impossible to quickly pull out your camera when the light is good.
Instead, I use a backpacking backpack and a small camera & lens case that goes inside it.
The nice part about the backpack above is I can store the camera, 1 lens, and tripod in the pack’s outside pockets, which have no zippers or closures.
When the light is good it takes me 5 seconds to setup the camera, without having to undo any pack compartments.
The pack is also completely waterproof and only weighs 31 ounces.
Ultralight Camera Setup (2.5 Lbs)
My optimal photography setup listed above is 7.5 lbs.
Although very light for a photography setup it’s hard to carry on 100+ mile hikes where I’m doing 20-30 mile days.
For this type of trip, I reduced my photo gear weight to 2.5 lbs as follows:
- Nikon Z30 + Memory Card
- Nikon 16-50mm Kit Lens + Circular Polarizer (46mm)
- 3 Batteries
- Ultralight Tripod
The image and video quality of this camera is fantastic, especially considering the price and weight.
Of course, it’s not going to be as good as the Z7, but if you’re just sharing photos online or on social media, there isn’t that big of a difference.
Video Equipment
4K Video & Hiking Films
- Nikon Z7
- Rode VideoMic NTG
- Windshield for 4K hiking videos, like this one & this one.
Youtube & Vlogging
Go Pro Hero 7 Video Camera: The quality of Go Pro is really good. I use this setup to make all my YouTube Videos.
With the following audio, below, this is my favorite setup ever.
Very compact. Easy to use and great stabilization without a Gimbal.
Audio Setup for Go Pro
The Go Pro in-camera audio is not usable. Don’t waste your time!
- Go Pro Mic Adapter. It’s bulky but worth it so you do not have to sync external audio. The sound is very good! People complain about this adapter because they don’t set it up right, as denoted below.
- Mic which plugs into Go Pro Audio Adapter
- Attach Mic Adapter to top of Go Pro 7 Case using this velcro tape with sticky sides so you can remove it as required.
- Insert this Wind Screen on Mic First, and the next on top of it. This makes for great sound with no wind noise.
- Second Wind Screen for Mic
Go Pro Handle / Stick: This must be used with the audio setup above. If you use it without external audio it’s noisy! I like this handle because it’s very small and weighs nothing allowing the full camera to fit in my hip pocket on my backpacking bag
Hiking & Backpacking Gear Checklist
Get my Hiking Equipment Checklist & Guide, which includes a free PDF to go along with it.
This will teach you everything I know about backpacking & living in the wilderness.
Computer Equipment
2020 Apple iMac with Retina 5K Display, with:
- Processor: 3.8 GHz 8-Core Intel Core i7
- Memory: 128 GB 2667 MHz DDR4
- Graphics: MD Radeon Pro 5700 XT 16 GB
Hard Drives & Essentials:
Batteries & Charging
Vehicle Power & Charging Equipment
- Inverter Power Supply for Vehicle
- “Cigarette Lighter” USB Charger – Make sure to get the 2.4 amp ports!
- USB-C Cables
- Go Pro Dual Battery Charger
- Car Jump Starter Backup Battery
Backpacking & Hiking Power
- Portable Charger Anker PowerCore 21000mAh: Approximately, 5 days of charge for Go Pro, Z7 Camera & phone, for GPS.
- Anker Powercore II 10000: 2-3 days of charge. Half of the battery above.
- 3 Go Pro Batteries
- Nikon EN-EL15c: This version can charge via USB-C while inside the Z7 camera. I carry 3 total.
How to 10X Your Learning Speed

The best way to improve quickly is by learning firsthand from someone that’s optimized their skills, over a decade or more through trial and error.
You can’t read blogs and watch internet videos to do this.
I offer workshops & tours for all skill, fitness, and age levels.
Over a 3-day weekend, I can teach you everything I know, plus provide 1 on 1 feedback that will quickly improve your skills.
I’ve seen students learn more in a 3-day trip than they have in 20 years of trying to learn on their own.
Check out my workshops & tours, right here.