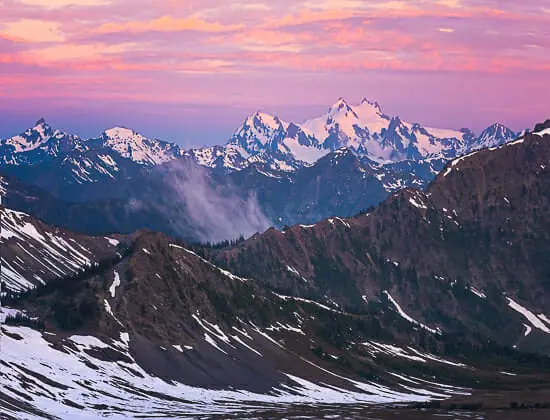
 This guide lays out my 5 step framework for taking world-class compositions.
With endless composition photography techniques, it’s overwhelming to know what to do & when.
Having a step-by-step framework removes the mental clutter and allows you to consistently capture great compositions.
Scroll down, download the free PDF to take out shooting with you & let’s get started.
Table of Contents
5-Step Composition Photography System Video
Watch the video first then scroll down & read the guide
Step 1: Heck Yeah or No
Most likely you’re taking way too many photos, hoping one or two will turn out.
99% of the photos any photographer takes aren’t going to be great.
The more photos you take, the more you have to sort through to find the good ones.
There are 3 huge problems with this.
They will ensure you never improve!
Problem 1
- It takes too long to sort through all the bad photos to find the good ones, so you never do it!
- You probably have dozens of great compositions hiding in the photos that you never sorted through.
- The overwhelm of having to sort through thousands of bad photos to find one good photo will ensure you never do it.
Problem 2
- You don’t have a specific reason for taking each photo.
- Without a reason for taking each shot, you’ll never know why you took it.
- If you don’t know why you took it, you’ll never know what conditions produced a good or bad photo.
- Without knowing what conditions create great compositions it’s impossible to learn and improve.
Problem 3
- It’s easy to burn out when you’re taking hundreds of photos each day with no reason why.
- Burnout plus bad results will destroy your motivation.
- Without motivation, there is zero chance of improving.
A Simple Approach to World-Class Photography Compositions
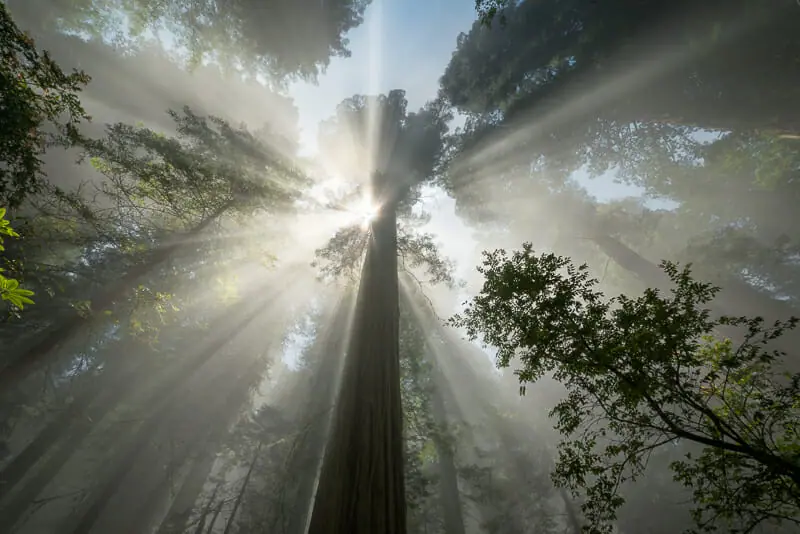
The best way to improve your composition is to take fewer photos.
I don’t even think about pulling out my camera unless the scene screams HECK YEAH!
Without great color, light, and an interesting landscape, why even shoot?
You’re never going to use the shots anyway.
Coming back from a week-long backpacking & photography trip, I may only have 4-5 compositions on my memory card.
If it’s not heck yeah, leave your camera in the bag and keep moving.
This is by far the easiest way to improve your compositions.
Step 2: The Interestingness Grid
This is not the thirds rule that you hear everyone talk about.
The third rule is garbage in my opinion.
It forces you to fit compositions into a framework that doesn’t always work!
Instead, split the photo up into horizontal and vertical thirds, just like you would using the thirds rule.
This creates a grid with 9 boxes over the photo.
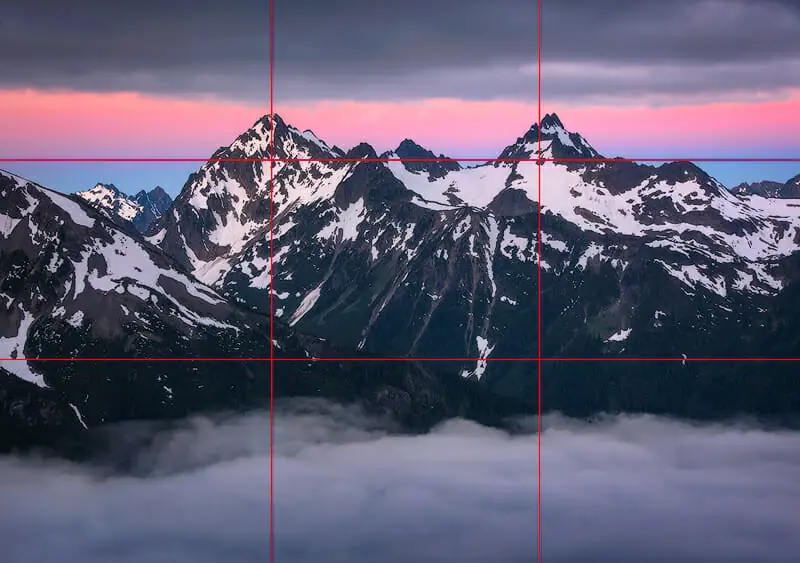
There is no need to have an actual grid on your camera, just imagine it overlaid onto any composition instead.
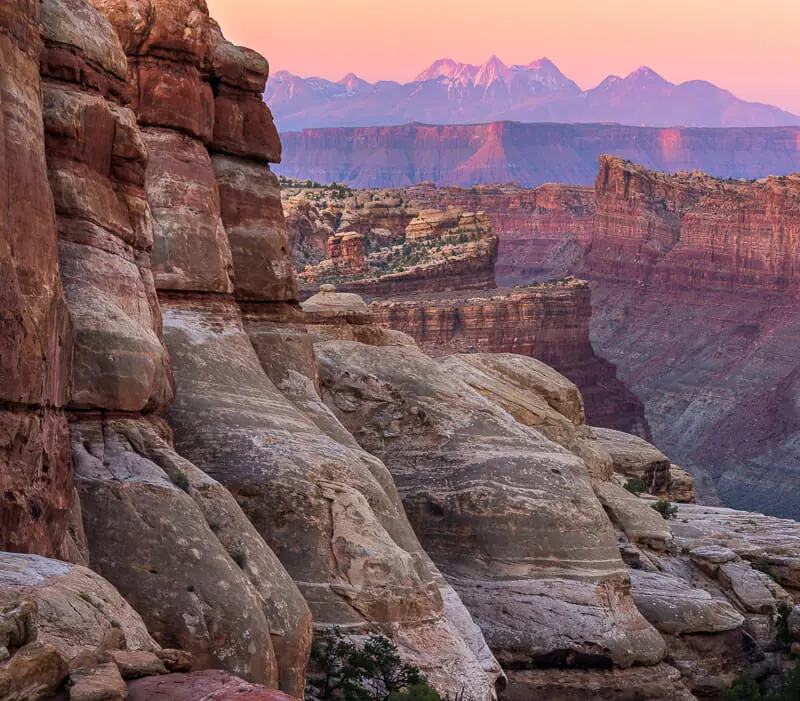
Each of the 9 boxes should have something interesting in them.
These interesting things could be:
- Vivid color
- Great Light
- Fog
- Clouds
- Mountains
- Waves
- Action
- Anything else that grabs the viewer’s attention into each box of the grid.
In the worst-case scenario, one or two of the boxes could be boring.
Just keep them dark or use a vignette to draw the viewer’s attention out of that area.
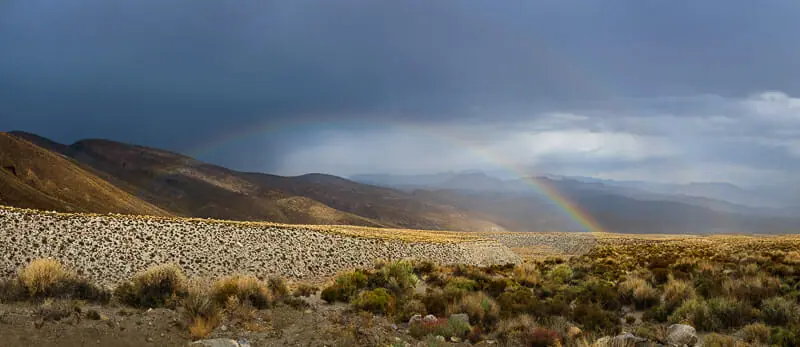
All of my favorite compositions have all of the boxes in the grid loaded with interesting things.
This makes sure the viewer’s eyes never get bored while looking at the photo!
Another great tool is cropping out any boring boxes in the grid.
Visualize in the field how a composition might work if you cropped the edges or boring boxes out of the grid.
Then while editing make these crop adjustments.
This is another really easy way to improve your compositions.
Step 3: The Offset Technique
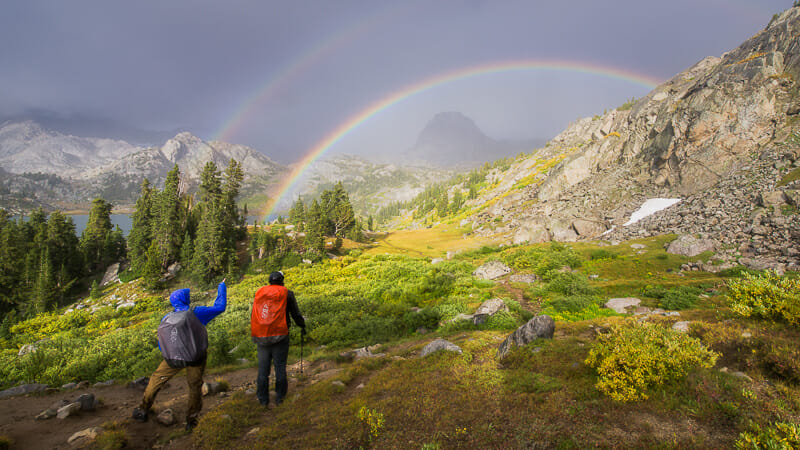
When shooting landscapes I’m always scanning the environment for Heck Yeah backgrounds.
The best foreground in the world is worthless without a great background.
There is no point in looking at the foreground until you have a Heck Yeah background.
After finding one, the technique is simple.
Place the most interesting object in the background in the back right or back left of the composition.
Now, walk around the scene looking for an interesting foreground to offset the opposite side of the composition.
By doing this you can easily move the eyes from the foreground, across the middle of the composition into the background.
Once these objects are offset and in place, slightly adjust the composition to help fill as many of the 9 boxes in the grid.
Below, I’ve included some photo composition examples.
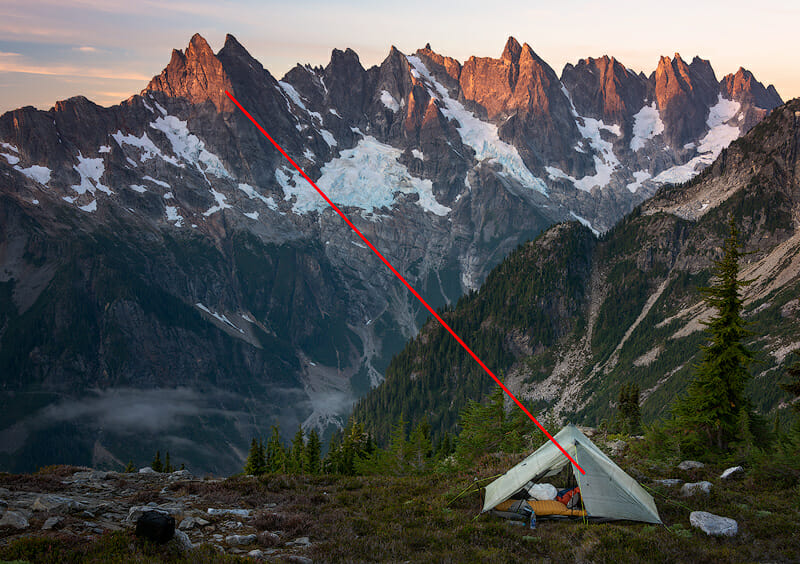
This helps to ensure you fill each of the 9 boxes in the grid with interesting objects.
The foreground and background objects should both have great color and light.
If you can find two offsetting interesting objects, it’s even better.
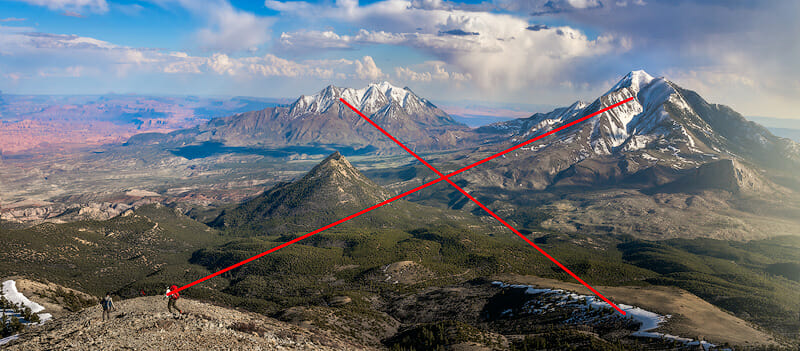
Next, crop out any dead space or repeating space around the edges of the photo.
If you’re not sure, you can always shoot wider than necessary and crop down the dead repeating space on the computer.
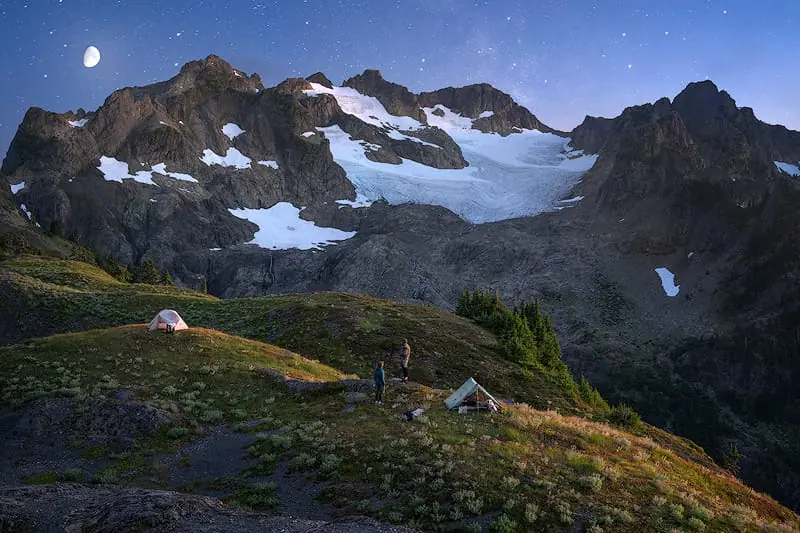
Hiking & backpacking are the best ways I’ve found to search for compositions for hours each day, while on the trail.
Sleeping in a tent allows you to set up in world-class locations for sunrise and sunset.
When you’re living outside the chances of finding great compositions is much higher!
Check out my Backpacking Guide & Checklist for gear & skills.
Step 4: Two Essential Ingredients of Great Compositions
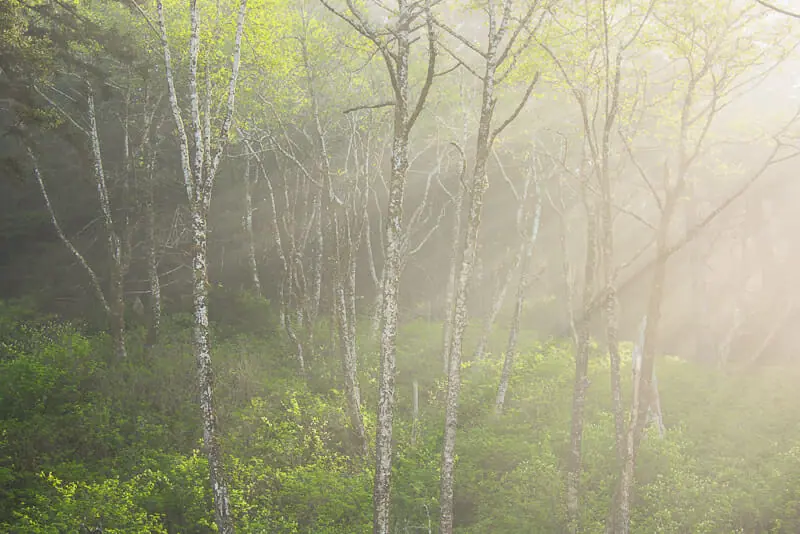
Without great color and great light, the best composition is worthless.
Both of the main interesting objects in the foreground and background must have great color or great light.
It’s even better if it has both!
If you can get them to display across the diagonal of the photo, it’s ideal!
The painter Albert Bierstadt has the best displays of “good” color and light that I’ve ever seen.
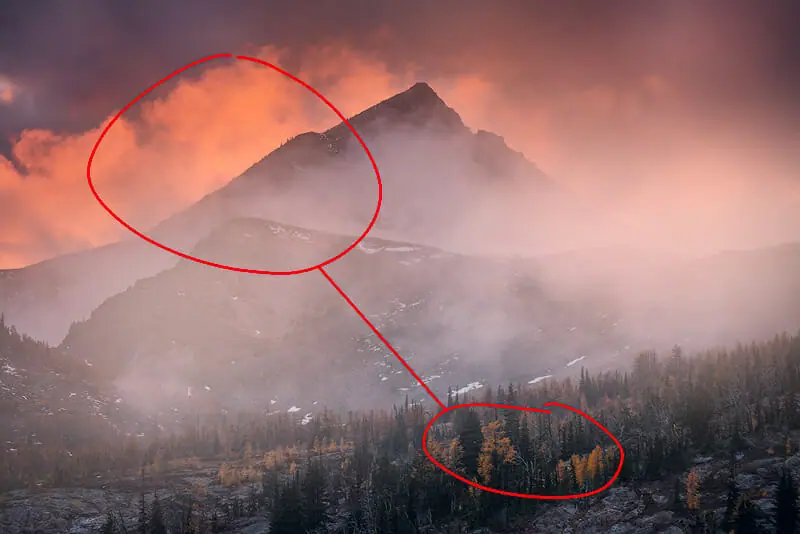
If these ingredients don’t exist in the photo, don’t bother shooting it.
What is Good Light?
All interesting parts of a photo are created with light.
Without light, you have a black image.
When light hits any object it creates contrast.
Contrast is the separation of tonal values, which produces depth and sharpness.
You can learn all about how light works, within photography, here. [Free PDF included]
When the light is too bright it washes out the color and produces too much contrast.
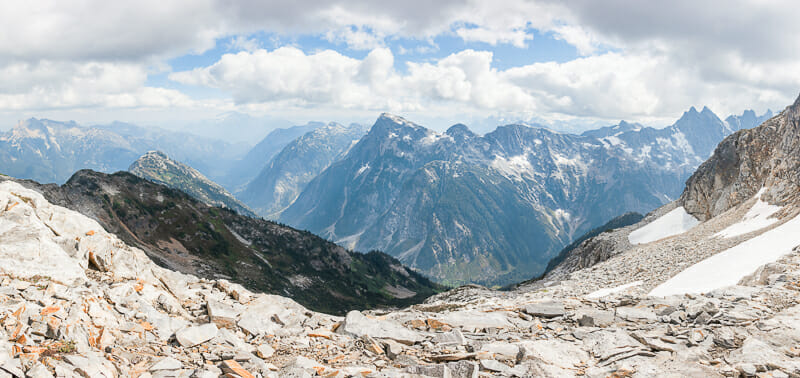
When the light isn’t bright enough there is no contrast or color.
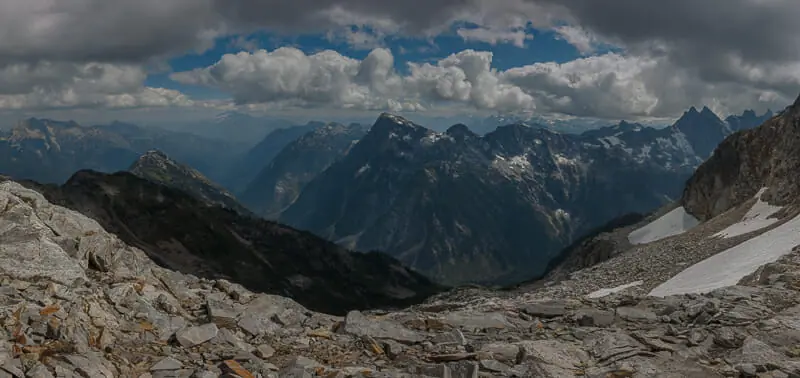
Good light is diffuse, meaning it doesn’t directly hit the objects in the scene.
Diffuse Light is Created By 3 Things:
- Fog or haze
- Low-density clouds
- Direct Light Reflecting off objects out of the composition, onto objects in the composition.
You can review my photography portfolio for some examples.
I’ve also included two examples below, although the website does not display colors and light as well as the portfolio linked above.
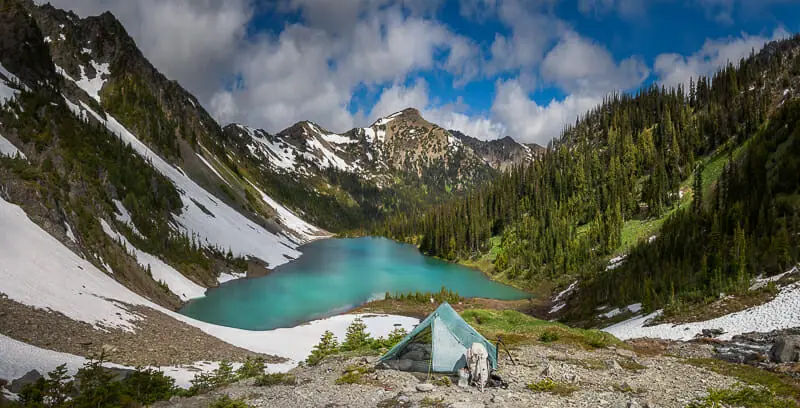
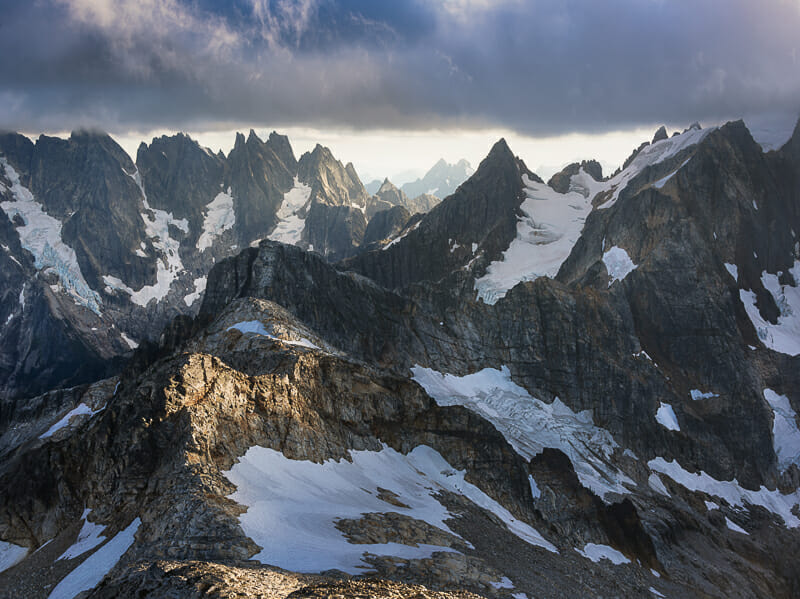
What is Good Color?
When the light is too harsh, colors in the scene become washed out and dull.
You can monitor this by checking the Red, Green and Blue Channels on the histogram.
When the light is too dark, color stops reflecting from objects in the scene.
This creates dull colors and makes a boring photo.
You can learn all about color harmony and color theory, here. [Free PDF included]
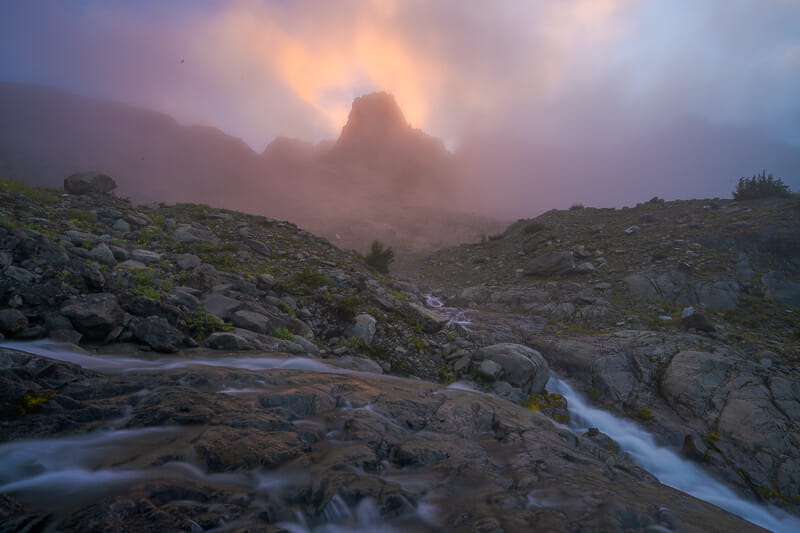
The following two RAW files, taken seconds apart, show the difference between good & bad color.
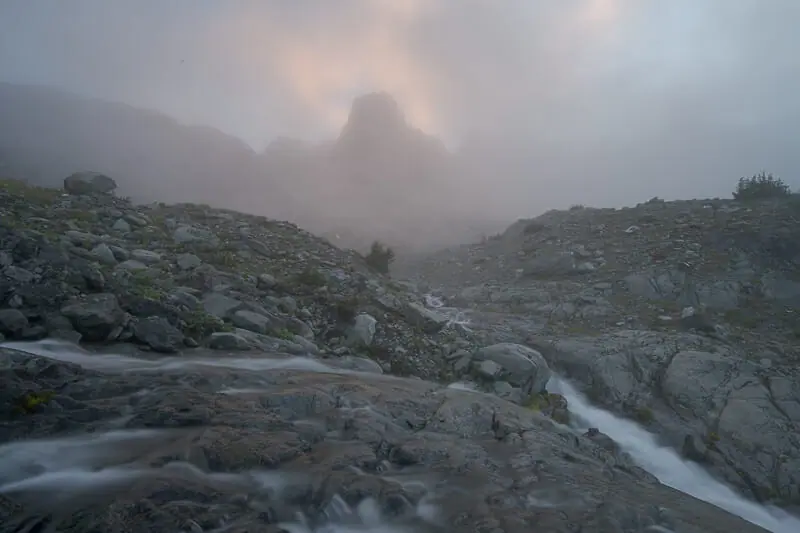
Always expose to the right for the brightest tonal value or color in the scene.
This will ensure you capture the best color & light in each photo.
Learn how in the following video.
Step 5: Always Shoot Three or More Variations
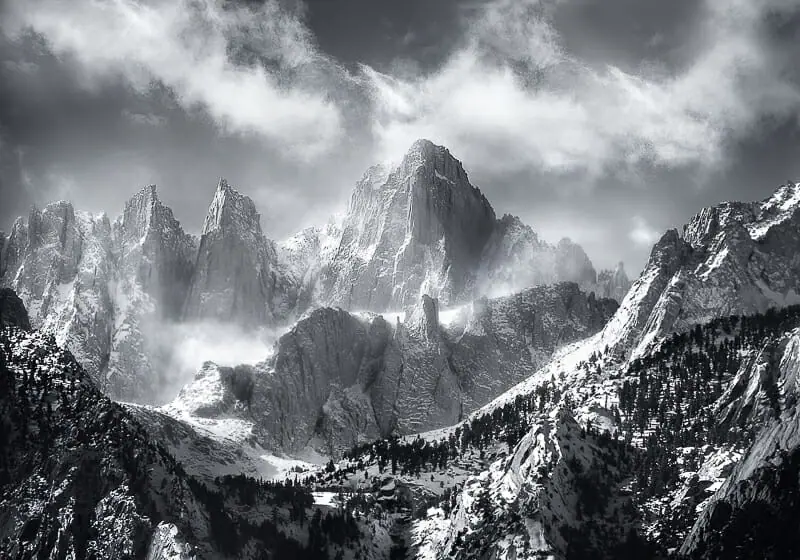
It’s not easy to find world-class compositions.
Very rarely do the color, light, scene, and composition all come together at once.
If it does, it’s essential to make sure you capture it correctly.
The first variation of any composition is usually not my favorite.
Only after taking a few slightly different variations do I really dial in my favorite composition.
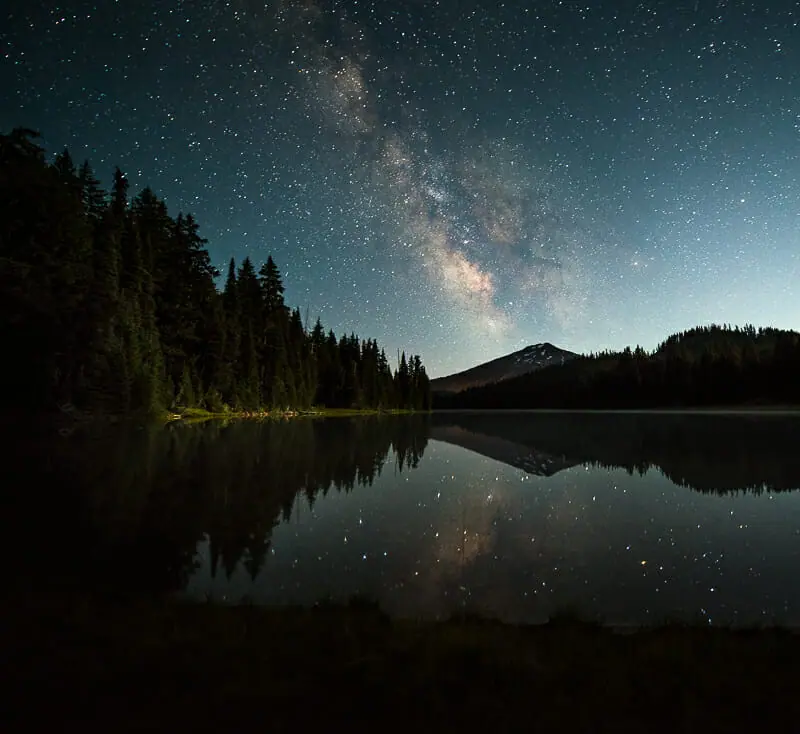
Take the pressure off yourself by knowing that the first shots will not be your best.
At a minimum, take three different variations of the composition.
These will only be slight adjustments to the angle or height of the camera.
There will be small things you notice while shooting that improve or degrade the composition.
The goal is to only shoot Heck Yeah compositions and pass on everything else.
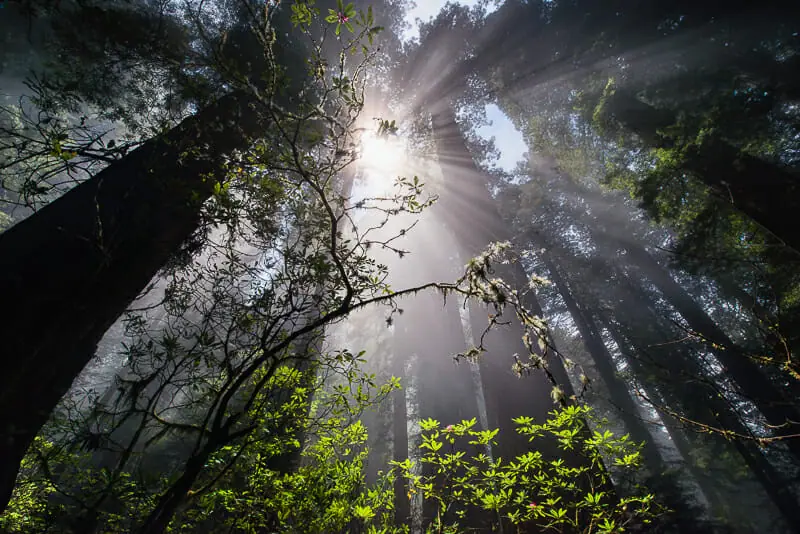
When you determine you have a good one, take some time and walk through the steps to ensure you got the shot.
Make sure your depth of field, exposure, ISO, and shutter speed are perfect!
If you’re questioning how wide to shoot, always shoot wider than you think is necessary.
It’s easy to crop the composition on the computer.
It’s impossible to make a scene wider if you never captured it in the field!
How to 10X Your Learning Speed
The best way to improve quickly is by learning firsthand from someone that’s optimized their skills, over a decade or more through trial and error.
You can’t read blogs and watch internet videos to do this.
I offer workshops & tours for all skill, fitness, and age levels.
Over a 3-day weekend, I can teach you everything I know, plus provide 1 on 1 feedback that will quickly improve your skills.
I’ve seen students learn more in a 3-day trip than they have in 20 years of trying to learn on their own.
Check out my workshops & tours, right here.