 The number one way to improve your black & white photography?
Stop using it as a backup for bad color photos.
Most photographers always shoot for color in the field.
If the color photo looks bad on their computer, they click black and white to try and salvage it.
This rarely leads to great black and white photography.
My 5-step system removes trial & error, allowing you to create world-class black and white photography.
Let’s dive in…
Table of Contents
- Video – 5 Black & White Photography Secrets You Never Heard Of
- Step 1: Best Conditions & Camera Settings for Black and White Photography
- Step 2: Use Layers to Create Depth
- Step 3: Move the Eyes with Contrast
- Step 4: Always Shoot Soft & Diffuse Light
- Step 5: Dodge & Burn to Move the Eyes through the Photo
- How to 10X Your Learning Speed
Video – 5 Black & White Photography Secrets You Never Heard Of
Step 1: Best Conditions & Camera Settings for Black and White Photography
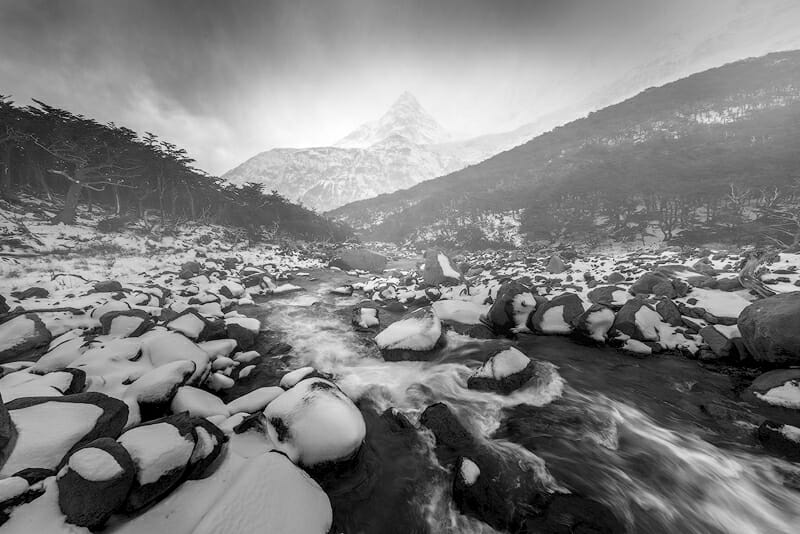
In my composition guide, I talk about the “Heck Yeah or No” technique.
If you’re not screaming heck yeah and excited to take the shot, just skip it.
Never take black and white or color photos without great light & a “heck yeah” composition.
Black and white photos depend on the transition of tonal values to move the eyes through the image.
The light should hit all parts of the landscape, in varying degrees of brightness, or you lose depth and the overall image will not work.
When to Shoot in Black & White?
The best way to know if you’re shooting for black and white or color is color harmony.
Why would color matter for black and white photography?
Hear me out…
Color harmonies determine which color combinations are visually appealing.
The simplest color harmony is called complementary.
The other color harmonies are covered in my color theory guide.
Complimentary colors are any two colors that lie directly across from each other on the color wheel.

How to Decide: Black & White vs. Color
Great Light + No Color Harmony = Black & White Photo
Great Light + Color Harmony = Color Photo
Example Photo – Great Light & No Color Harmony
Here’s the final edit of a black and white photo I took in Utah.
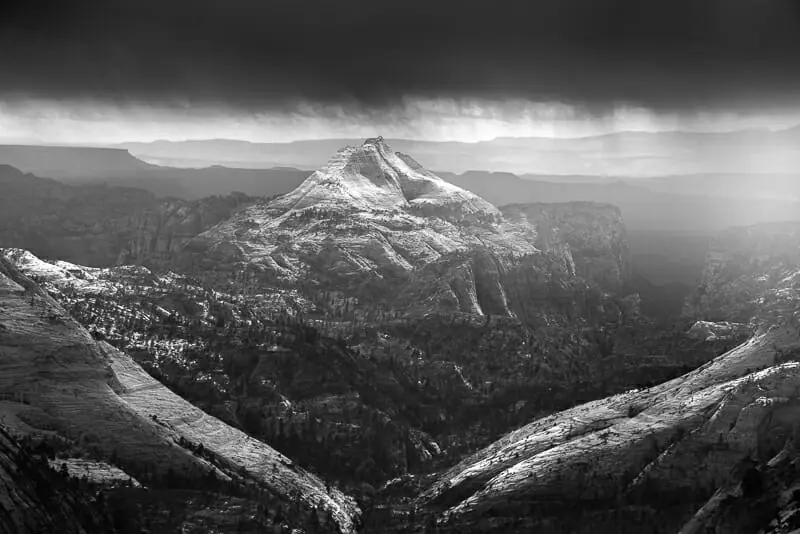
Notice how the light “dapples” on the landscape, meaning it hits some areas with great intensity and other areas with lower intensity.
- Great black & white photos are created by moving the eyes throughout the photo using tonal values.
- The eyes constantly want to move from dark areas to bright areas and vice versa.
Visually appealing photos constantly move the eyes throughout the image.
Without good light, the eyes have nowhere new and interesting to move so they stop looking.
This produces a boring image.
The next example is the RAW file from which the image above came.
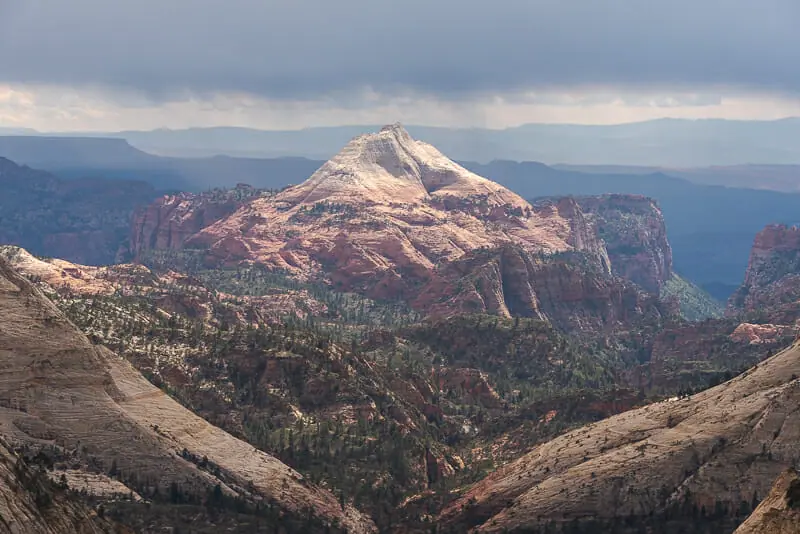
The light is diffuse on the landscape & the cloud contrast is fantastic.
Notice how there isn’t any color harmony in the landscape.
Perfect conditions for black & white photography.
Best Camera Settings for Black & White Photography
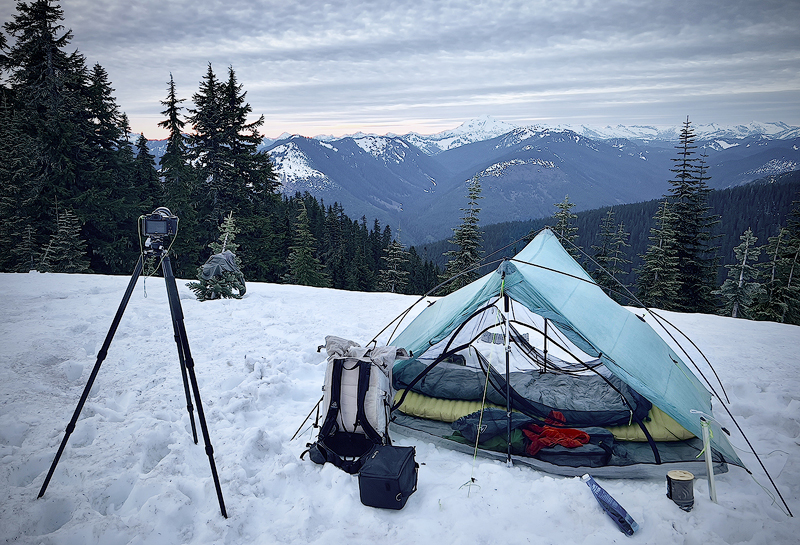
There is no need to change your camera settings for black-and-white photography.
The ideal settings, exposure, f-stop, ISO, and shutter speed are exactly the same for black & white vs color photography.
Don’t Put Your Camera on the Black & White Setting!
A RAW file captures the same data either way, so there is no point.
- The black & white setting on your camera processes the RAW file and shows you a JPEG rendering of the RAW file in black and white.
- This JPEG rendering is not the actual data the camera is capturing.
- The black & white setting is not actually changing the data the camera captures from the scene in RAW.
Shoot in RAW and convert the image to black & white on the computer.
You should still expose to the right for every black and white image, as taught in the following video:
Step 2: Use Layers to Create Depth
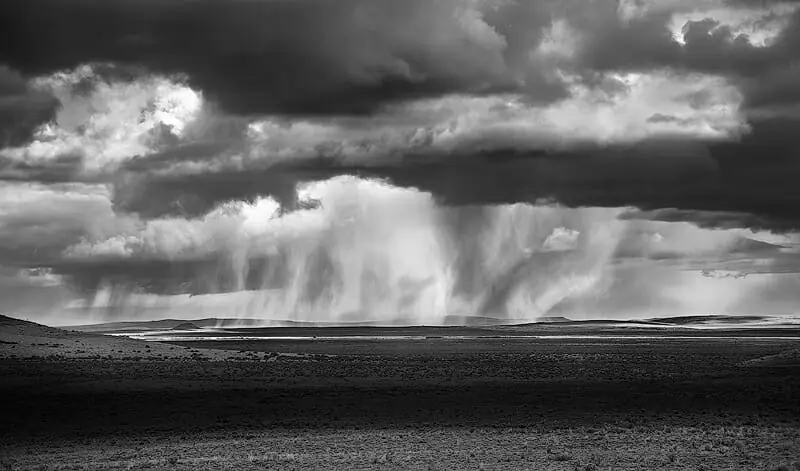
After finding great light, it’s essential to have layers within the image.
This is one of the most important black and white photography techniques.
Layers allow you to see the landscape from the foreground, moving through the midground, and finishing in the background.
- Without layers, there is no way to show depth.
- Without depth, you have a boring image.
The following image shows a great example of layers creating depth.
Being high up in the mountains gives you the ability to get above the landscape and shoot the layers out to the horizon.
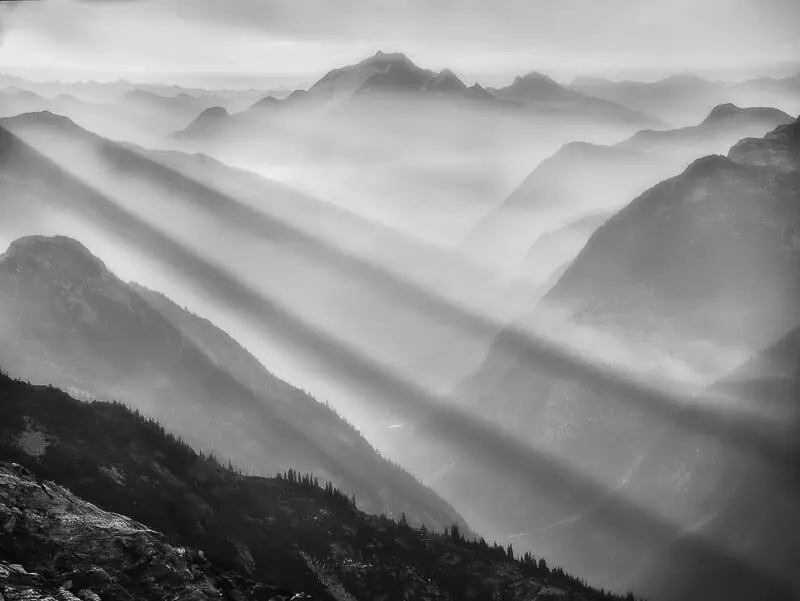
You can also add layers & depth through light rays, fog, or other types of diffuse light.
Layers are created through the contrast of black, white, and mid-tones in the photo.
In the following RAW file, there is bad light, combined with no layers. (Bad shot!)
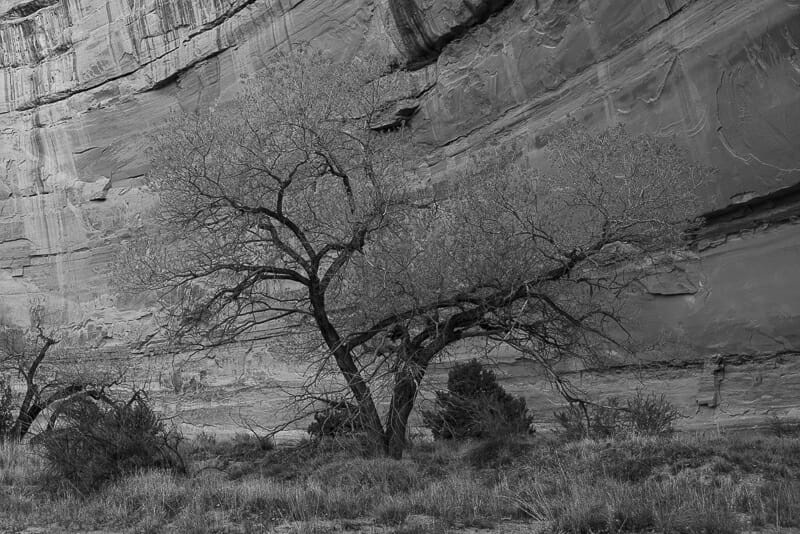
Notice how it’s impossible to tell the depth of the scene.
There is no separation from the foreground to midground and midground to the background.
Depth also provides scale, which is essential for landscape photography.
Without depth or scale, the image becomes very boring and no one wants to look at it.
Step 3: Move the Eyes with Contrast
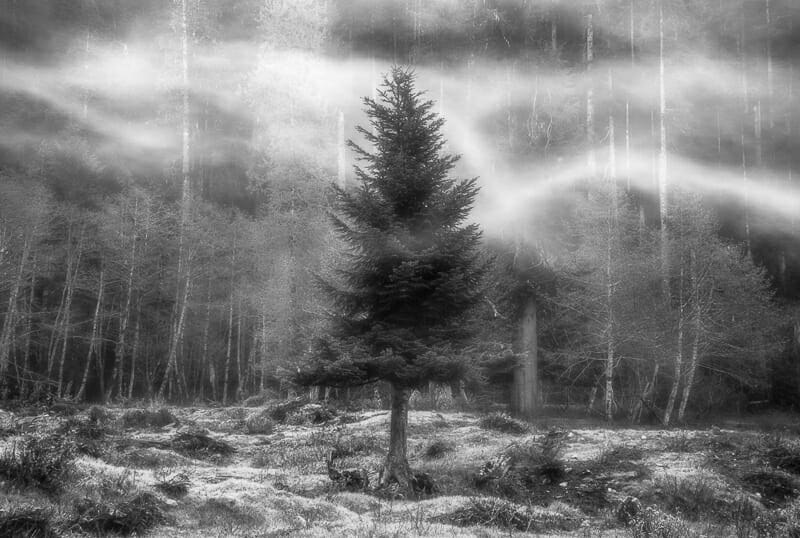
World-class black and white photos constantly move the eyes through the scene.
If the eyes stop moving, the viewer gets bored and moves on.
Great light, creates a wide range of varying tonal values, keeping the eyes constantly moving.
It also creates contrast.
Contrast is the difference between dark and light tonal values that exist within any composition.
The less contrast there is, the less depth, scale & details there will be.
Both of the following RAW files were taken at the exact same shutter speed, minutes apart.
In the first shot (unedited RAW), great light created contrast in the scene.
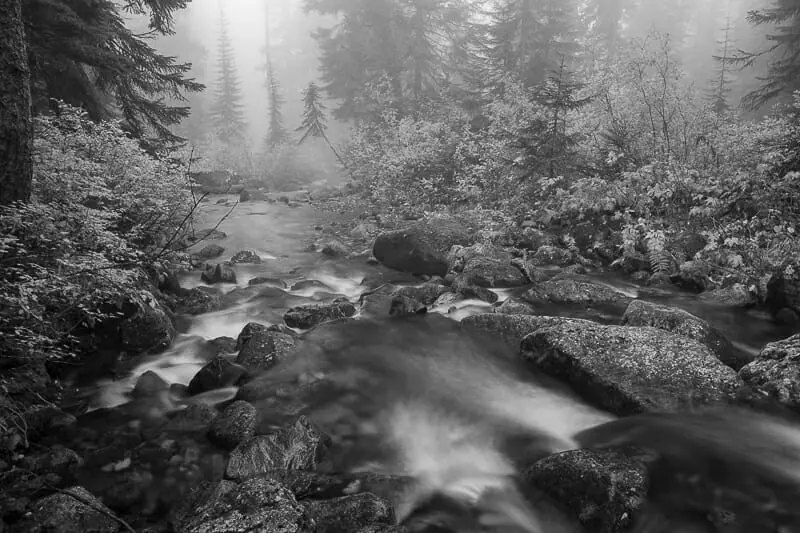
This contrast not only adds details but also moves the eyes from varying tonal values.
Keeping the eyes constantly moving is the key to an interesting composition.
This is ideal lighting & contrast for black & white photography.
In the second shot, the light was blocked behind a cloud and the contrast left the scene.
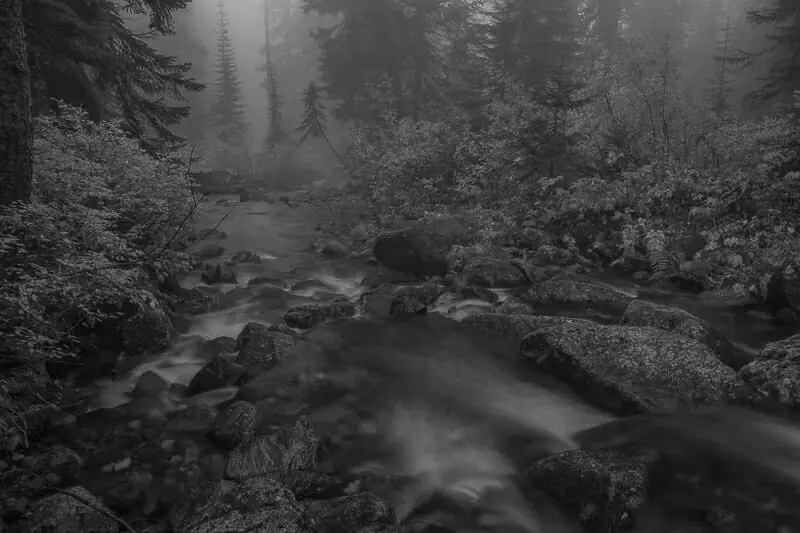
Not only did the shot lose depth, but it also fails to draw your eyes through the scene using contrasted tonal values.
- Without light, there is no contrast or depth.
- Without contrast, there is no depth or “interestingness” within the photo.
The following video covers tonal values, histograms, color, and contrast.
To perfect black & white photography you should be a master of histograms.
Step 4: Always Shoot Soft & Diffuse Light
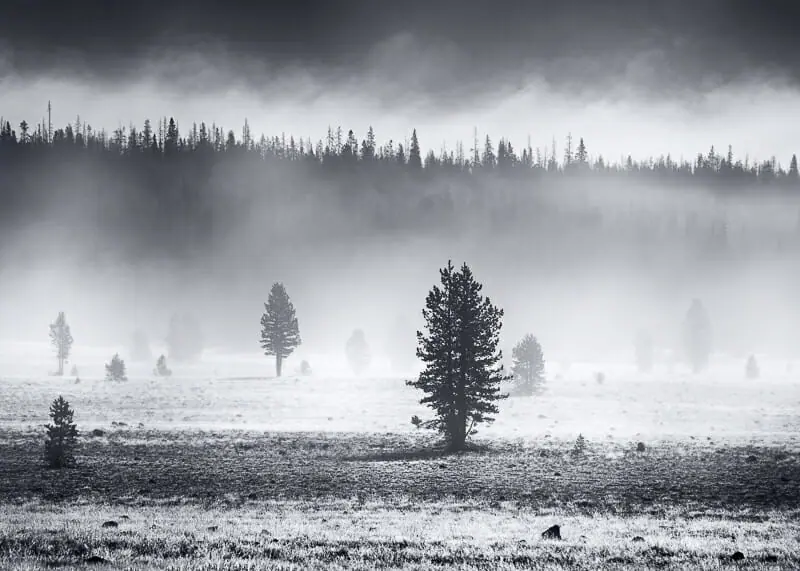
The ultimate conditions for black and white photography exist with good light, depth via layers, and fog or diffuse light.
These conditions combined automatically produce contrast.
Two conditions need to exist for fog & diffuse light:
- The Cloud Base (lowest elevation clouds) is below where you are currently shooting.
- The Cloud Ceiling (highest elevation clouds) does not extend more than a few thousand feet above where you’re currently shooting.
The elevation range between the cloud tops & the cloud base is ideal for black & white photography.
Let’s dive in…
Cloud Ceiling Example
If the cloud ceiling is too high, then the layers of clouds between you in the sun will block out all of the sunlight.
This removes all light & contrast from the scene, making bad black & white photo conditions.
During an inversion layer, seen in the following example, I’m above the cloud tops.
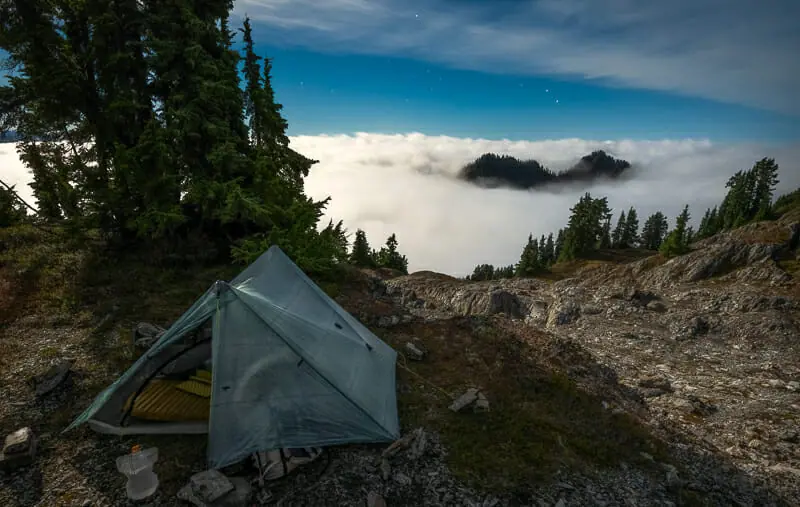
This isn’t ideal for black-and-white photography either.
Cloud Base Example
If the cloud base is higher than where you’re shooting, then you won’t have clouds, haze, fog, or diffuse light.
The clouds above you will also block out all light from the scene, removing contrast & ruining your images.
In the following example (unedited RAW), I was above the cloud base, which ensures there will be lots of fog, haze & diffuse light in all parts of the composition.
The cloud tops were also not far above me.
This allows for the sun to poke through and hit the landscape producing contrast.
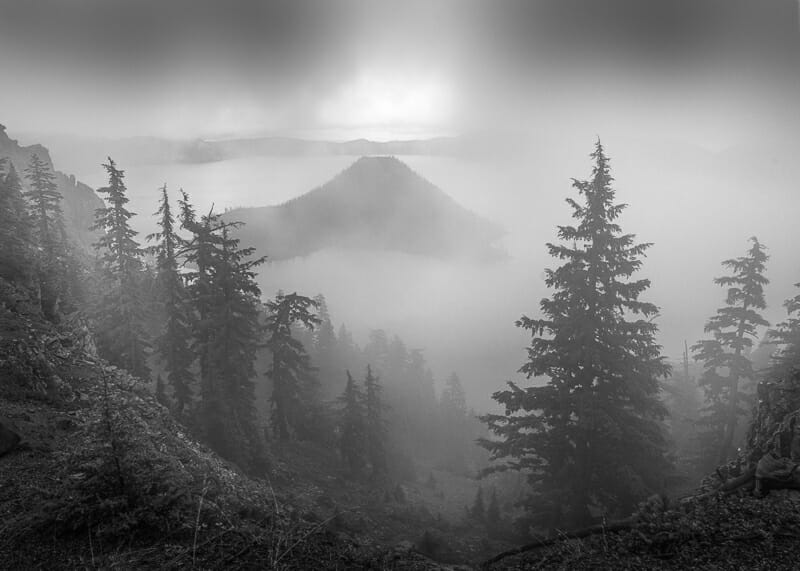
This range of elevations on the specific day was perfect for black and white photography.
How to Find the Cloud Tops & Cloud Base
I use the weather program Windy to determine where the cloud base & ceiling will be on specific shoots.
I recommend the premium version of Windy. It’s around $20 per year.
It will take you a weekend to master Windy, but the improvement in photos is well worth it!
An overview of how I plan photo locations & weather can be found in the following video:
Step 5: Dodge & Burn to Move the Eyes through the Photo
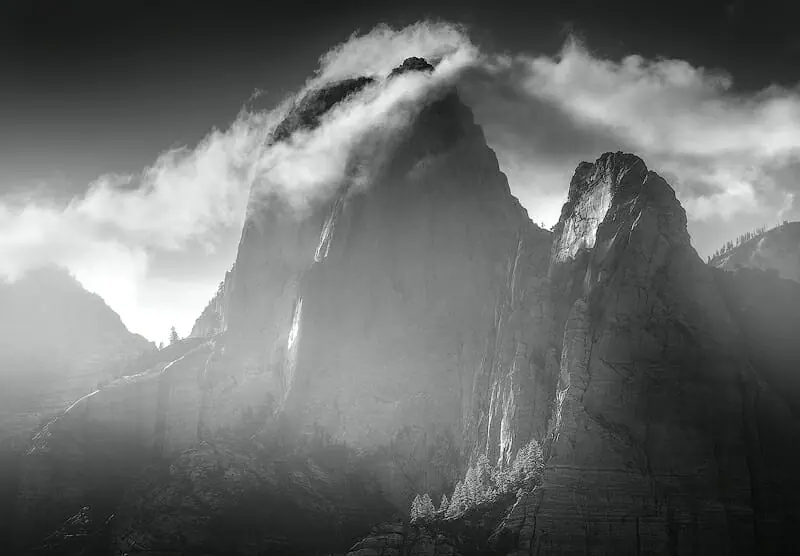
The goal for good black and white photos is to move the eyes to interesting parts of the image and push them away from boring parts of the image.
- Areas that are dark will not attract the eyes.
- Keep the boring parts of the image dark!
- Bright areas will draw the eyes into a specific area.
- Keep the interesting parts of the image light.
Dodging means brightening parts of the image.
Burning means darkening parts of the image.
While out shooting you should visualize how the image will be dodged or burned on the computer.
By visualizing the final photo editing result while out shooting, you’ll be able to create much better compositions.
Example 1 – Dodging & Burning
The first image below (unedited RAW) has not been dodged and burned.
Notice how flat the light is, and your eyes are not drawn to anywhere in particular.
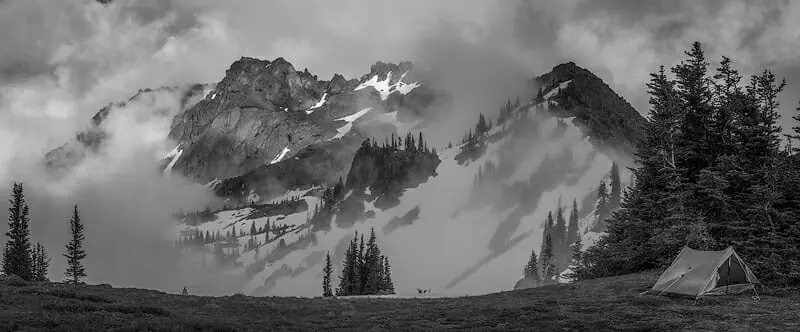
The next image is the exact same file with 5 minutes of dodging and burning applied.
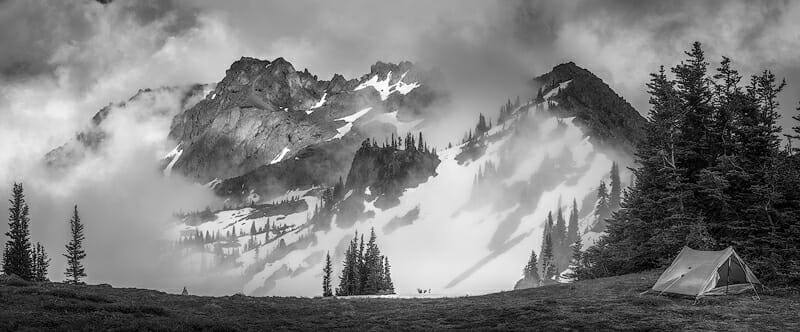
I lightened the areas where I wanted the eyes to look & darkened the boring areas to push the eyes away.
This quick adjustment completely changes the entire image.
Example 2 – Dodging & Burning
The first image (unedited RAW) has not been dodged and burned yet.
The light is flat and does not provide depth or move the eyes through the image using contrast.
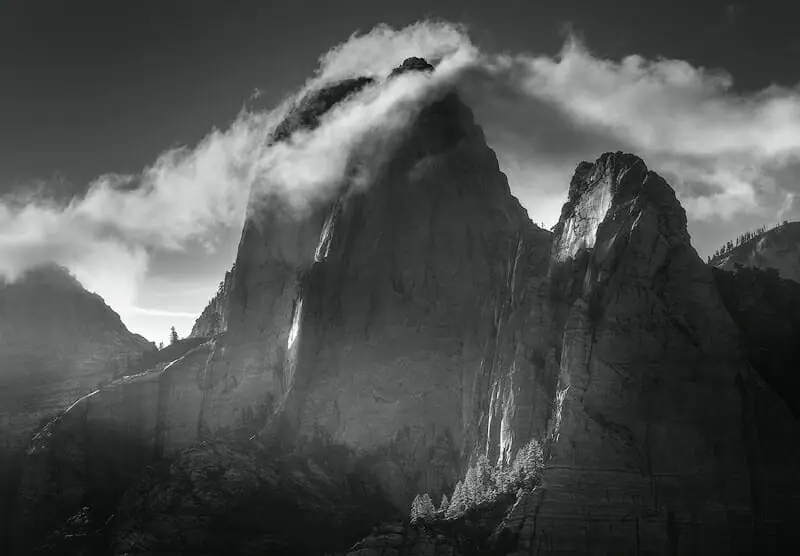
The following image has been dodged and burned. It took less than 5 minutes.

The dodge and burn completely changes the image by drawing attention to the center where the “interesting” peaks are, and pushing the eyes away from the boring outsides.
How to 10X Your Learning Speed
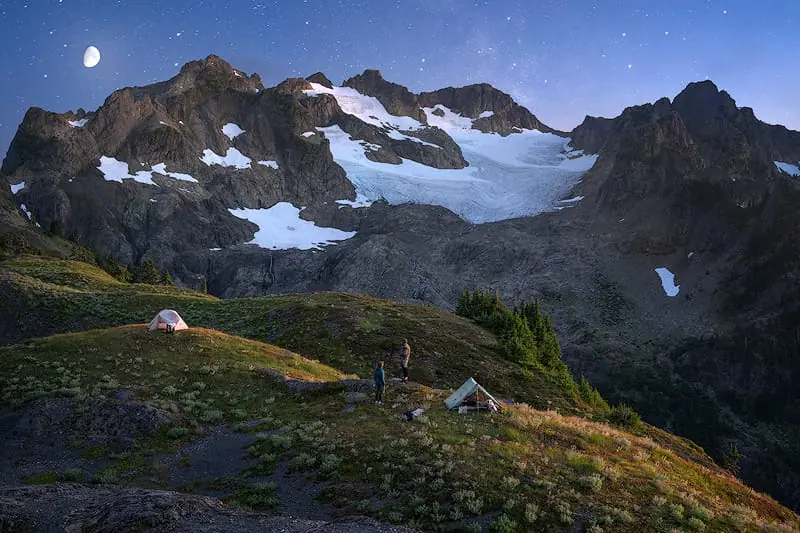
The best way to improve quickly is by learning firsthand from someone that’s optimized their skills, over a decade or more through trial and error.
You can’t read blogs and watch internet videos to do this.
I offer workshops & tours for all skill, fitness, and age levels.
Over a 3-day weekend, I can teach you everything I know, plus provide 1 on 1 feedback that will quickly improve your skills.
I’ve seen students learn more in a 3-day trip than they have in 20 years of trying to learn on their own.
Check out my workshops & tours, right here.