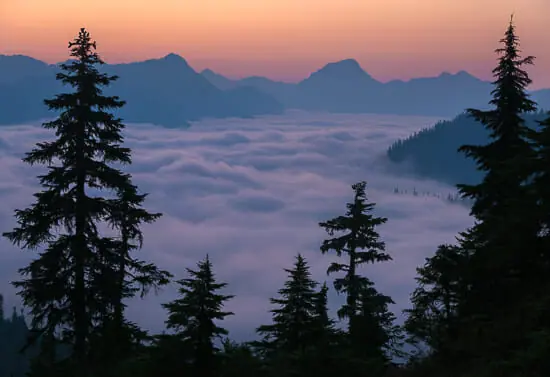
 Aperture Priority Mode is the best shooting mode for landscape & outdoor photography.
Manual Mode should only be used in low light when the camera can’t meter the scene.
This guide covers the step-by-step aperture priority mode camera technique for:
- Sharp Focus
- F-Stop & Depth of Field
- Shutter Speed
- ISO
- Exposure
Scroll down & read the guide.
Table of Contents
Why Aperture Priority Mode is the Best
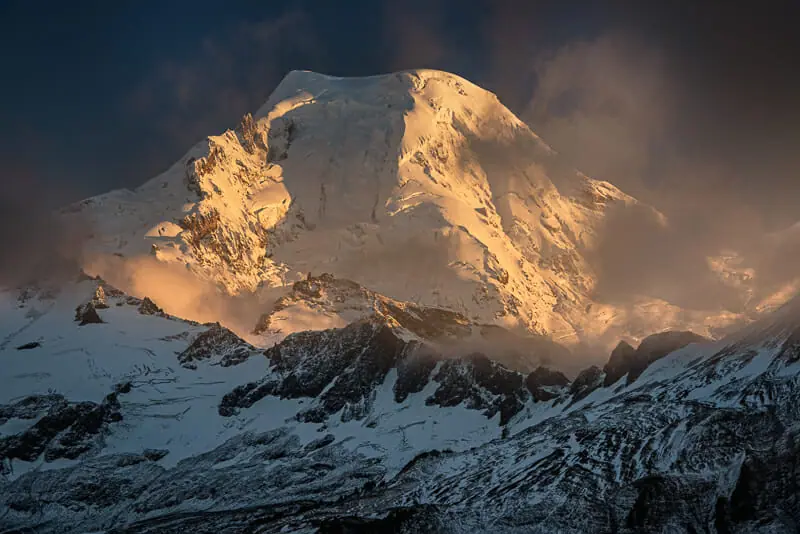
Aperture Priority (AP) Shooting Mode is superior to Manual Shooting Mode for landscape photography.
It allows the photographer to control the camera settings with just as much precision as Manual Mode.
AP Mode also makes the shooting workflow for landscape photography much more efficient.
The following video covers my step-by-step shooting technique for Aperture Priority Mode.
The guide continues below that.
Aperture Priority Mode requires the photographer to select the:
- F-Stop Settings
- ISO Settings
- Exposure / Image Brightness Settings (Exposure Compensation)
Aperture Priority Mode automatically adjusts the shutter speed to balance the exposure triangle, with the settings above.
For 95% of shots, the shutter speed does not matter.
It’s a waste of time to adjust the shutter speed for every shot when it’s only required once in a while.
When a specific shutter speed is required, such as:
- Long exposures
- Waterfalls or streams
- Action shots
The shutter speed can be increased or decreased by using ISO, F-Stop, or Exposure Compensation (+/-EV).
Exposure Value (EV) Basics
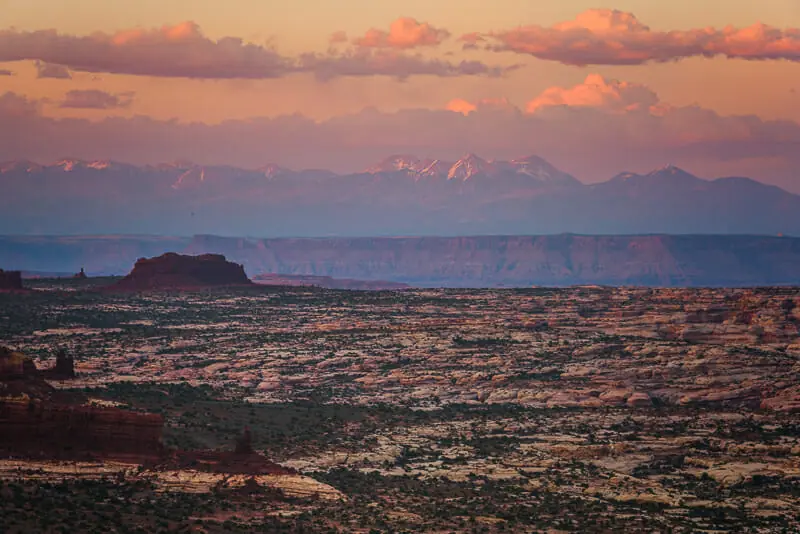
All digital cameras have a reflected light “meter” that guesses how much light is coming off any scene.
This is known as metering.
- Metering does not depend on camera settings.
- Metering approximations are not perfect, but educated guesses by the camera sensor.
The amount of light metered from the scene is known as the Scene Light Value.
Common Scene Light Values for Landscapes
Bright Sunny Day, Direct Sunlight: 16
Sunset: 11-13
Twilight: 2 to 8
Milky Way & Night Sky: -11 to -7
Settings Light Value
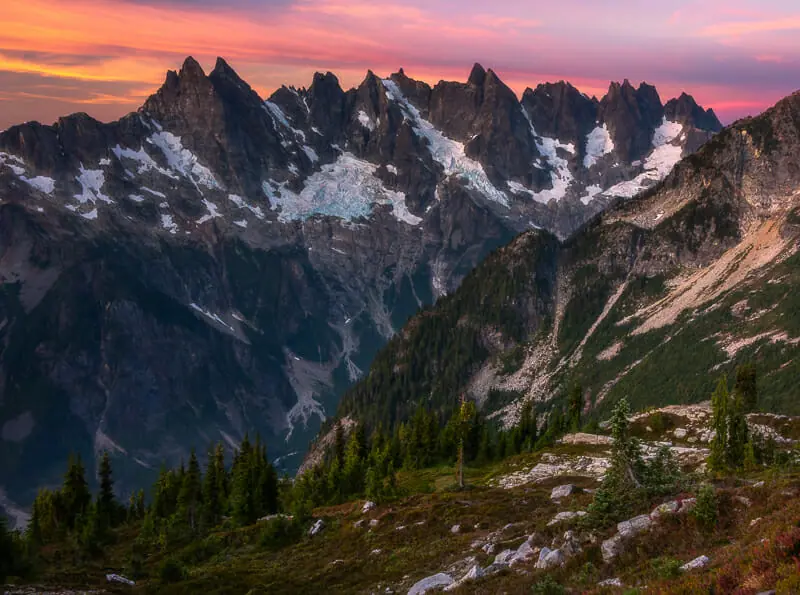
A camera sensor is a light-capturing device.
There are two ways you can increase or decrease the amount of light captured.
- Aperture diameter, determined by f-stop.
- Length of time the sensor is exposed to light (shutter speed)
The combination of the light captured from a specific aperture diameter over a specific exposure time is known as the Light Value.
ISO can amplify the Light Value, but this comes at the cost of image noise.
The light-capturing potential of F-stop, shutter speed & ISO, is known as the Settings Light Value.
Your camera calculates it automatically, so no need to remember these equations.
ISO Greater Than 100
Settings Light Value = (log2 ((f-stop value^2) / shutter speed)) – (log2 (ISO / 100))
ISO Less Than 100
Settings Light Value = (log2 ((f-stop value^2) / shutter speed)) + (log2 (ISO / 100))
Exposure Compensation & Light Value

Exposure Compensation is denoted by a (+/-EV) button on the top (usually right) of your camera.
Scene Light Value is guessed by the camera meter.
Settings Light Value is calculated by the camera using the equations above.
Exposure Compensation is the difference between the Settings Light Value & Scene Light Value.
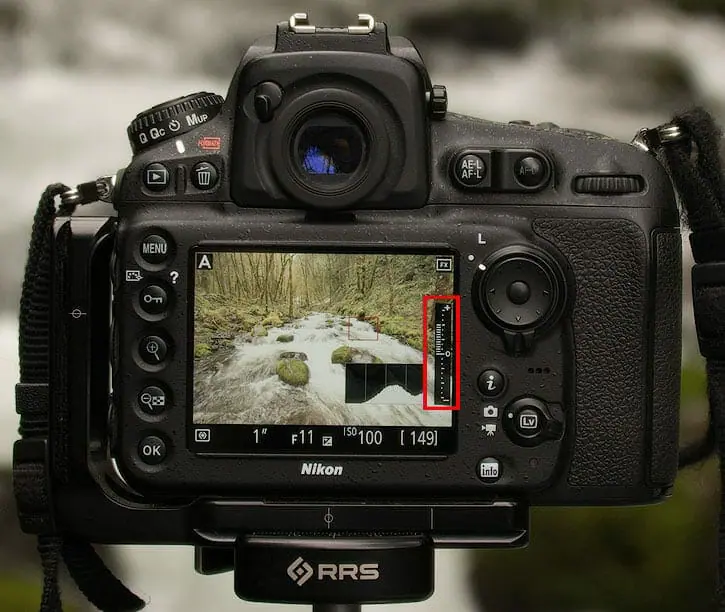
If Settings Light Value is greater than Scene Light Value, then Exposure Compensation is positive.
This is the camera’s guess that the final image will be brighter than the scene for the given settings.
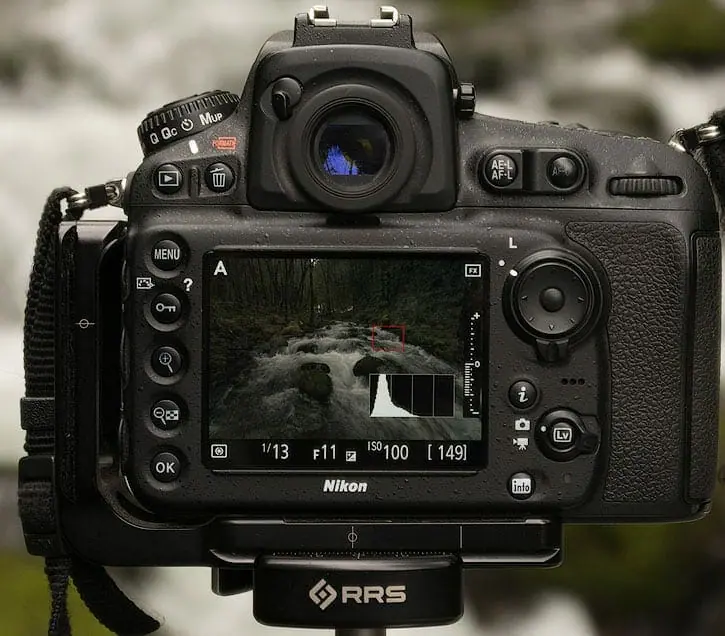
If Settings Light Value is less than Scene Light Value, then Exposure Compensation is negative.
This is the camera’s guess that the final image will be darker than the scene.
Why I Prefer Aperture Priority Mode
For every shot, I select the:
- F-Stop Settings
- ISO Settings
- Image Brightness / Histogram via Exposure Compensation.
The camera automatically adjusts the shutter speed to maintain the image brightness & histogram I selected.
As the light changes, the camera will continue to meter the scene and adjust the shutter speed to maintain constant image brightness.
This is ideal for landscape photography.
The light is constantly changing and I don’t want to constantly adjust the shutter speed unless it’s required.
Remember, you only need to control shutter speed for 5% of photos, which include:
- Long exposures
- Waterfalls or streams
- Action shots
Otherwise, it does not matter.
It makes no sense to adjust the shutter speed for every shot, as manual mode requires.
When I need to control the shutter speed, I can easily change the ISO, F-Stop, or Exposure Compensation.
The camera will automatically change the shutter speed to balance the exposure triangle.
When the light changes again, I don’t need to do anything.
It’s all done by the camera.
Here is the workflow for shooting with aperture priority mode.
Step 1: Always Start at Base ISO
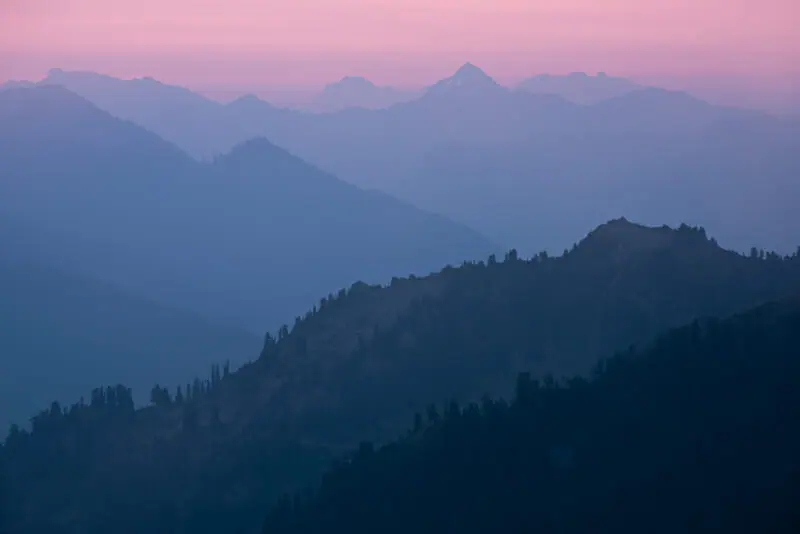
Always start every single shot at base ISO.
- On most full-frame cameras this is ISO 64.
- On most other cameras this is ISO 100.
Both are fine. There isn’t much difference.
Base ISO Guarantees:
- Least image noise
- Best image color
- Widest light-capturing potential (dynamic range)
You can change your ISO later if required but always start at base ISO.
Step 2: Choose the Best F-Stop Settings
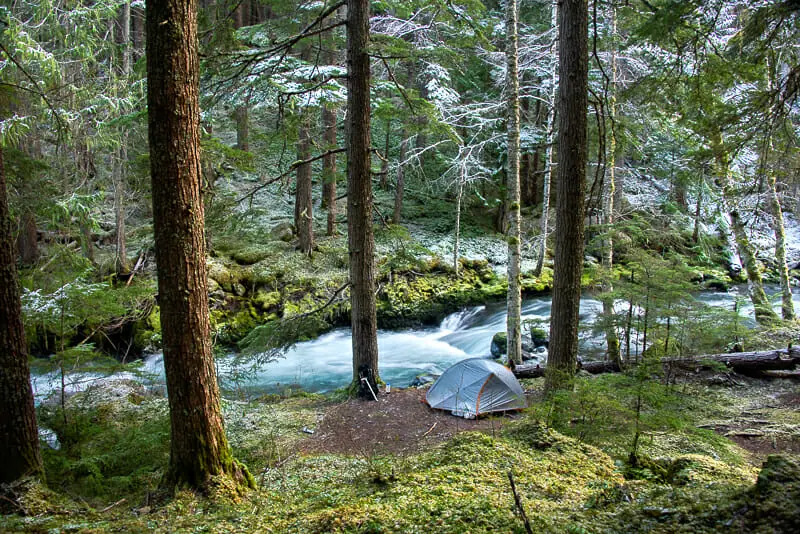
It’s very important to select f-stop before shutter speed & ISO.
If your f-stop is incorrect, parts of the photo may be out of focus, rendering it worthless.
Focus your lens before selecting any of the camera settings.
- Use larger f-stop values for scenes with a larger depth of field.
- Depth of field defines the closest to furthest objects in a scene, both of which are in focus.
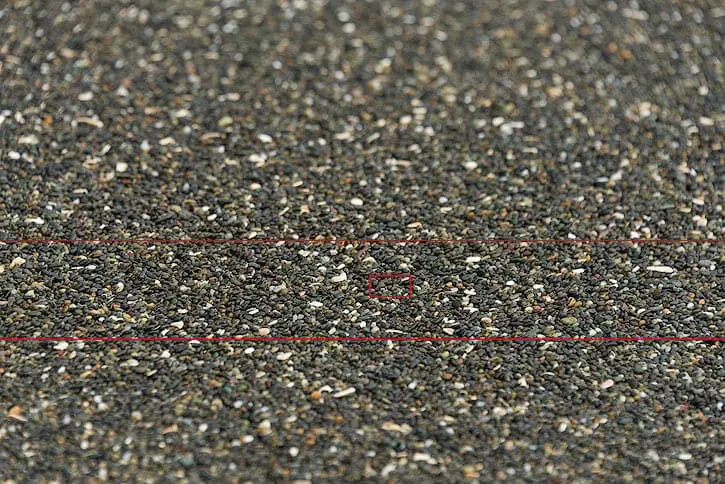
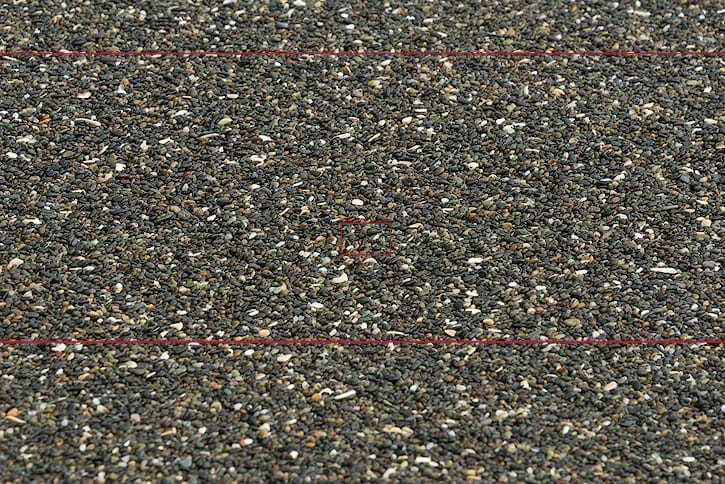
These rocks on a beach show a very simple-to-understand example.
Shallow Depth of Field at f/4
Large Depth of Field at f/16
I Shoot at f/11 for 99% of Photos
It’s the optimal balance between image sharpness & depth of field.
I cover it in this video.
If the Scene has a Large Depth of Field, Try f/16 or Focus Stacking
Step 3: Set the Exposure & Histogram
Having selected Base ISO & F-Stop, it’s time to set the image brightness & exposure.
- The ideal exposure for landscape photography will be brighter than the actual scene being photographed.
- The goal is to increase the exposure to the maximum brightness possible, without blowing out or clipping any pixels in the highlights.
This technique is known as Expose to the Right or E.T.T.R.
Why Should You Expose to the Right?
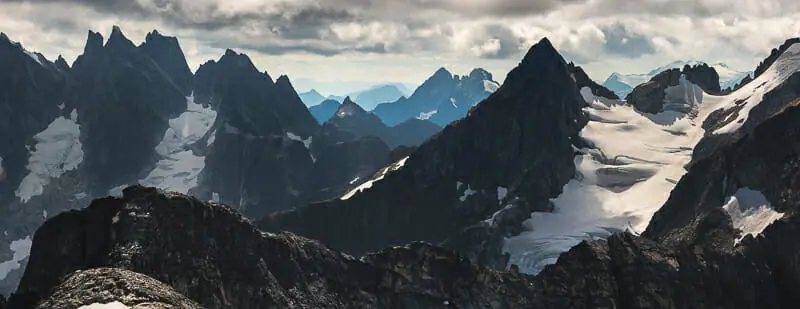
There are no downsides and only upsides of exposing to the right.
- Exposing to the right allows your camera to collect the maximum amount of light information from the scene.
- The camera sensor collects more color and detail from dark parts of the image than a standard exposure would.
E.T.T.R improves image quality and reduces the need for exposure bracketing, or taking multiple exposures.
This will make more sense after watching the video included in the next section.
How to Expose to the Right
Live View is essential for landscape photography.
- Turn live view shooting mode on
- Pull up the histogram on the back of live view
Using the Exposure Compensation (+/-EV) Button, increase or decrease its value until the histogram is touching the very right edge, without going over.
This is shown below.
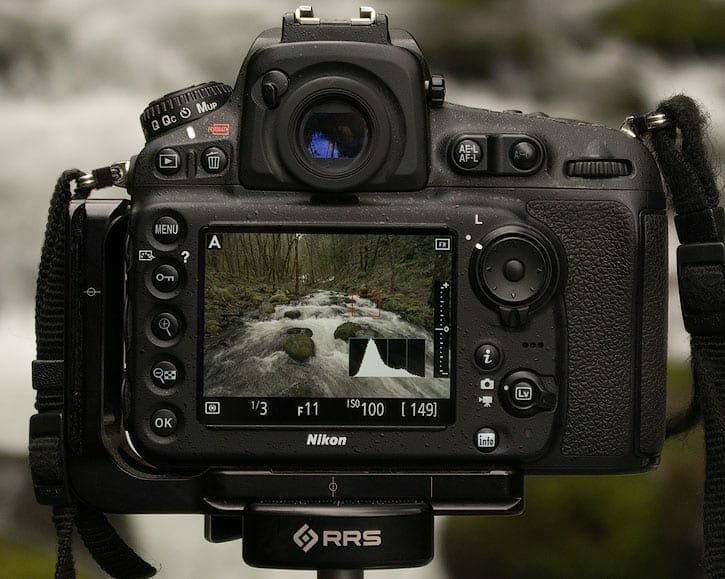
This is the brightest exposure your camera can capture from this scene without blowing out or clipping any of the brightest pixels.
There isn’t a right or wrong Exposure Compensation Value so long as you’re exposed to the right.
After setting the Exposure Compensation Value with the histogram exposed to the right, the camera will maintain this image brightness even when the lighting in the scene changes.
The following video shows why E.T.T.R is so important.
Expose to the Right Camera Technique
Step 4: Choose the Correct Shutter Speed
The exposure or image brightness is important for 100% of your shots.
The shutter speed is only important for 5% of your shots.
It doesn’t make sense to adjust your shutter speed for every shot, as required in manual mode.
Aperture Priority Mode always maintains your set exposure & histogram, even if the light changes.
- If the scene becomes darker, the camera will lengthen the shutter speed to ensure the histogram & exposure stay constant.
- If the scene becomes brighter, the camera will shorten the shutter speed to ensure the histogram & exposure stay constant.
This guarantees your exposure is always perfect.
Before every shot, always ask yourself…
Does the Shutter Speed Matter for This Shot?
If the answer is no, press the shutter button & take the shot.
If the answer is yes, then control shutter speed as follows.
First, watch this video to get a better idea of the technique.
Three Options for Controlling Shutter Speed
There are three ways to control shutter speed in Aperture Priority Mode.
Depending on your situation, some options are better than others.
I always go in the exact same order, as follows.
Option 1: Control Shutter Speed with ISO
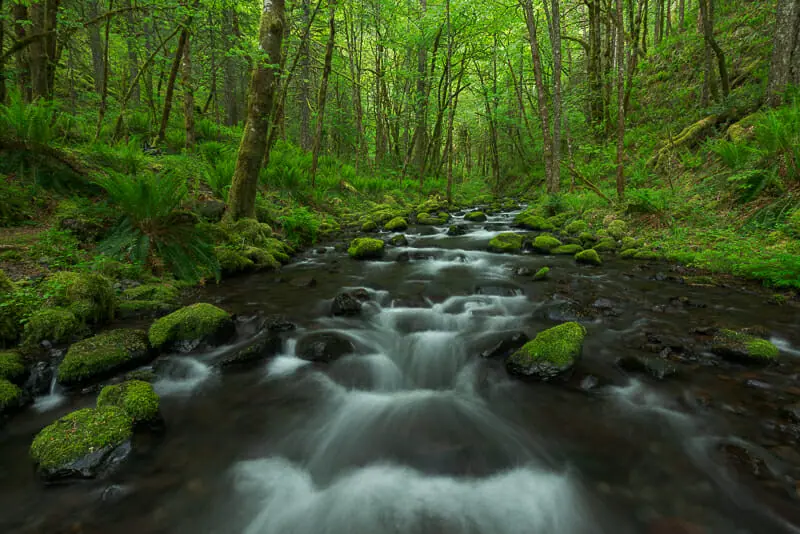
To maintain a constant exposure, but change the shutter speed:
- Increase ISO = Shorter Shutter Speed
- Decrease ISO = Longer Shutter Speed
There is no need to memorize an exposure stops chart.
This is why Live View is so helpful.
You can watch the change to settings in real-time.
My camera, the Nikon Z7, handles minimum ISO to ISO800 very well, without too much noise.
It’s important to know your usable range of ISO values for your camera.
Here is how to test your camera for your usable ISO range.
Now, you can shoot anywhere within this range without worrying about image quality.
If the camera-specific maximum or minimum ISO value is reached before the required shutter speed is reached, then I have to move to the next option.
Option 2: Control Shutter Speed with F-Stop
Always ensure that your depth of field requirements are still maintained.
- Increase F-Stop = Longer Shutter Speed
- Decrease F-Stop = Shorter Shutter Speed
Option 3: Control Shutter Speed with Exposure Compensation
If the f-stop and ISO don’t provide the required shutter speed, the only option left is exposure.
- Increase Exposure Compensation = Longer Shutter Speed
- Decrease Exposure Compensation = Shorter Shutter Speed
Sometimes it’s worth decreasing the image brightness to get the right shutter speed.
Other times it isn’t.
You’ll have to experiment with your camera’s dynamic range to see how it works for you.
Step 5: Final Image Review
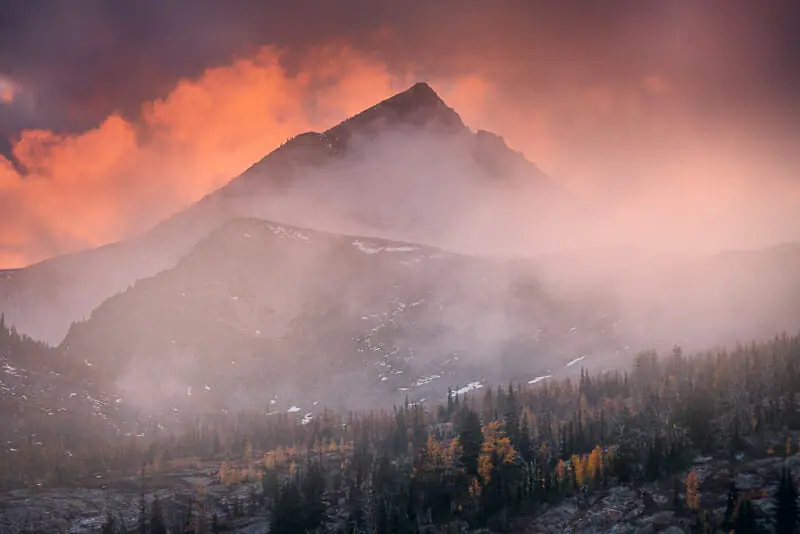
After each photo is taken a final image review is essential to ensure the shot is perfect.
Get in the habit of doing this for every shot and you’ll never come home disappointed.
What to Check in the Final Image Review
Composition: Do you like how the photo looks, less the settings? If not, the settings don’t matter anyway…
Focus: Check closest and further objects in composition to ensure both are in focus.
Histogram / Exposure: Check RGB & Color Channel Histograms to ensure E.T.T.R has been achieved without clipping any highlight pixels.
Image Attributes: Did you get the correct “look” you were going for?
- Did the shutter speed produce the desired result?
- Is there too much noise in the image?
- Did the f-stop achieve the correct depth of field?
If you failed any steps in the image review, adjust the settings and take another shot.
If you passed all steps, then you’re good to go!
How to 10X Your Learning Speed
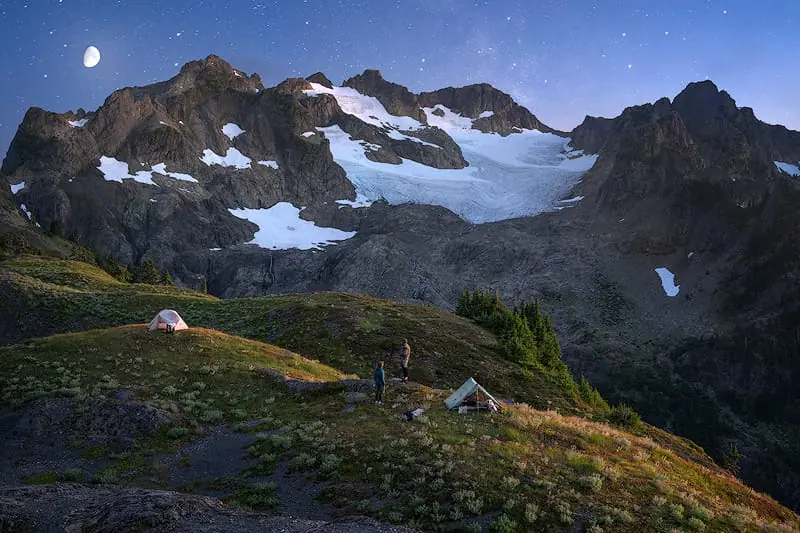
The best way to improve quickly is by learning firsthand from someone that’s optimized their skills, over a decade or more through trial and error.
You can’t read blogs and watch internet videos to do this.
I offer workshops & tours for all skill, fitness, and age levels.
Over a 3-day weekend, I can teach you everything I know, plus provide 1 on 1 feedback that will quickly improve your skills.
I’ve seen students learn more in a 3-day trip than they have in 20 years of trying to learn on their own.
Check out my workshops & tours, right here.