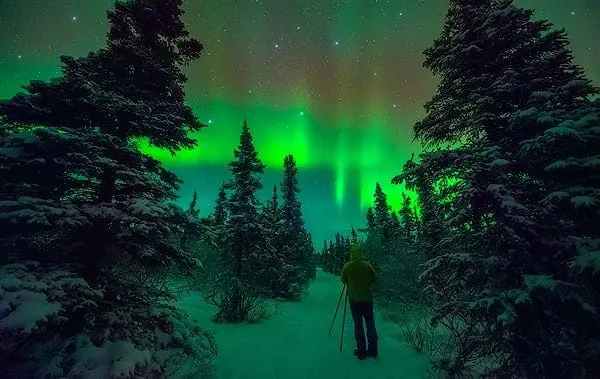
Learn the latest northern lights photography techniques for 2025.
This guide covers everything you’ll need including camera settings, equipment recommendations, and tips for planning your shoot.
Scroll down & start learning!
Page Table of Contents
Click & access the section of your choice or scroll down and read the entire guide.
Camera Equipment – Northern Lights Photography
This section includes the equipment requirements for northern lights photography.
If you’re interested in the brands & models I use and recommend, check out the Star Photography Camera & Lens Recommendations page for more details.
Best Camera for Northern Lights Photography?
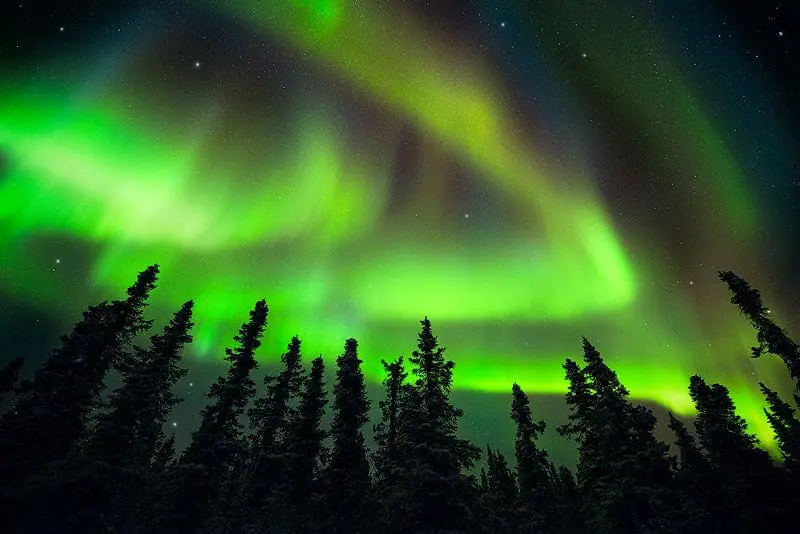
A camera with manual mode is required for northern lights photography.
You must be able to control f-stop, shutter speed, and ISO, each manually.
I use and recommend full-frame cameras such as the Nikon Z7.
A full-frame camera will produce much higher quality images with less, noise than a crop sensor camera.
You can still use a crop sensor camera but the image quality will be much lower.
Bring at least 3-5 batteries for your shoot!
Best Lens for Northern Lights Photography?
A wide-angle lens allows you to capture vast landscapes with the northern lights overhead.
I recommend minimum f-stop values ranging from f/2.8 to f/4 for northern lights photography.
- Full frame focal lengths between 14mm and 30mm are recommended.
- Crop sensor focal lengths between 10mm and 25mm are recommended.
Shooting at f/2.8 produces a very wide aperture opening, in turn, allowing more light to hit the image sensor over a standard exposure time. This is taught below.
You’ll learn why this is so important, below.
Currently, I shoot with the Nikkor 14-24mm f/2.8 for all my night sky images.
Best Tripod for Northern Lights Photography?
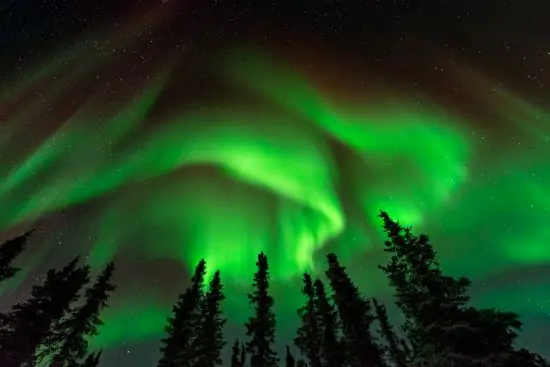 A carbon fiber tripod, with sturdy legs and adjustable ball head is great for northern lights photography.
Cheaper tripods will also work but usually nowhere near as well.
Carbon fiber tripods reduce vibration in the legs providing sharper images.
It’s also essential to use a tripod head that does not move at all over the long exposures required for northern lights photography.
Currently, I shoot with the Feisol Tournament CT-3342 3-Tripod and Really Right Stuff BH-30 Ball head & L-Bracket.
Best Intervalometer for Northern Lights Photography
You won’t need an intervalometer for shooting the aurora since none of your exposures will extend beyond 30 seconds.
To reduce camera shake and create sharper images I use the Exposure Delay Mode on my camera.
Set a 5-second timer to wait 5 seconds before taking each shot.
This will remove any camera shake from pushing the shutter button.
Planning Your Shoot
Planning ensures you don’t waste night after night hoping to get some good shots of the northern lights.
Using this planning technique will increase your odds of getting a good shot.
Step 1: Find Dark Skies
The easiest way to find an area with dark skies is to check the Blue Marble Light Pollution Map which is a Google / NASA collaboration.
The black areas are free of light pollution, while white and grey areas have high light pollution.
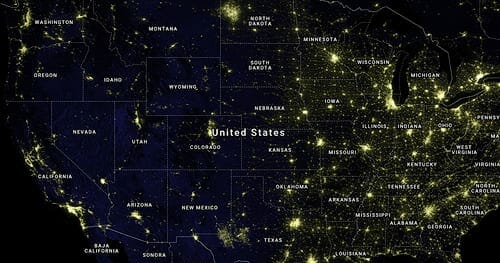
Shooting in dark areas will provide the best results, most vivid colors & detail.
Step 2: Find Clear Skies
You don’t need perfectly clear skies to get some great shots.
I usually aim for sky cover percentages between 0%-30%, which you can see on the blue line in the graphic below.
The following graphic is from NOAA’s website for Fairbanks Alaska.

Some websites call this cloud cover percentage.
You can use your local weather website to find the cloud cover percentages.
Step 3: Check the Aurora Activity
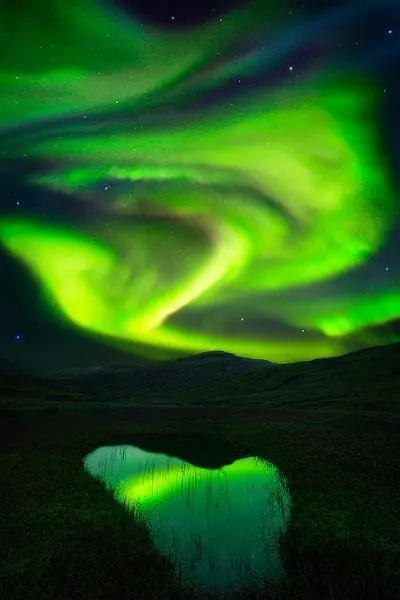
Most countries in the Far North have their own Northern Lights activity service.
The northern lights activity index ( Kp-index ) ranges from 0-9 with 0 being the lowest amount of activity and 9 being the greatest.
Kp-index ratings of 5 or great are considered a storm.
I prefer to shoot on nights with a KP index of 4 or greater.
You can get some great shots even with a KP index of 2.
The photo in this section was from a night with a KP index of 9.
Here is a list of the forecasting websites I have used in the past.
Space Weather Live OVATION Auroral Forecast: A really nice visual website that provides the current aurora forecast as well as other interesting facts which will help you to capture a photo of the Northern Lights.
Iceland’s Vedur Aurora Forecast: If you’re going to be shooting in Iceland this is the site for you.
You can also use the aurora activity predictions from this website when visiting Norway, Sweden, Greenland, or anywhere else in close vicinity.
Space Weather Aurora Forecast: Another great website with a broad overview of the aurora forecast for a multi-day time frame. Space Weather’s website is worth spending some time visiting!
Focusing Your Lens at Night
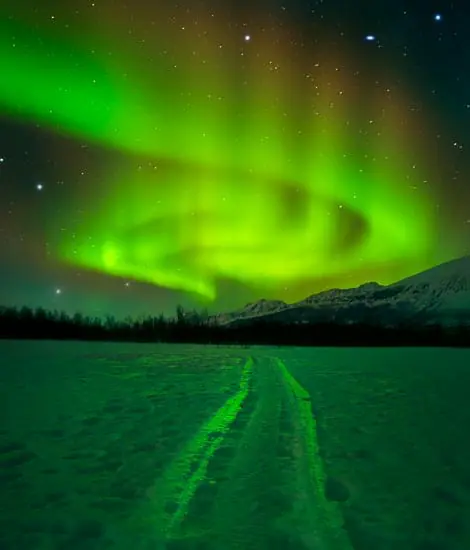 Since the sky & northern lights are very far away from where we stand on earth, focusing at or near infinity will work well for sharp images.
Most lenses have an “∞” symbol on them which is used to mark the approximate infinity focus point.
Focusing on this symbol doesn’t always produce the sharpest images.
It’s better to test first using the method below to ensure sharp focus for your shoot.
Experimentation and practice are key to finding out what works and what doesn’t!
There are many different options for focusing your lens at night.
I’m going to teach you one of my favorites below.
Method 1: Setting Your Focus During the Day
If it’s your first time out shooting at night, this method works really well to cut down on the confusion that can happen when it gets dark.
Step 1: Get your camera & lens set up during the day. You will want to use the same lens, focal length, and f-stop that you will use to shoot at night.
You can do this at your house, outside a hotel, or anywhere that’s easy.
- Open the f-stop to f/2.8 or f/4.
- Use the widest focal length possible. I recommend 14-25mm.
Step 2: Focus on something in the distance, approximately 50 feet out in front of your camera.
Taking 15 large steps from your camera will give you a good approximation on this distance.
Pick any object in this area and focus on it.
Step 3: Verify you have sharp focus by taking a couple of practice shots and zooming in to make sure the focus point is sharp.
Next, verify that the horizon in the image is also sharp, or whatever the furthest object in your composition happens to be.
Step 4: Use a piece of tape to mark this spot on your lens, or tape it down so the focal ring does not move.
White tape is easy to see in the dark.
This is the focal point and focal length you will use to shoot the northern lights.
I always shoot at my widest focal length for all night sky shots and crop down if required.
Advanced Focusing Tips & Techniques
My book, Photograph the Night Sky, covers 6 more focusing techniques for night sky photography.
Camera Setup & Settings
This section provides a quick reference for the in-depth discussions in the following sections.
Shooting Mode
Manual Mode allows you to manually adjust the ISO, Aperture, and shutter speed by hand.
Image Settings
RAW Format will produce the best results for northern lights photography.
Metering Mode
The metering mode does not matter since at night your camera meter is not accurate.
I use center-weighted average for landscape photography, so leaving it on that works well.
Color Balance / White Balance
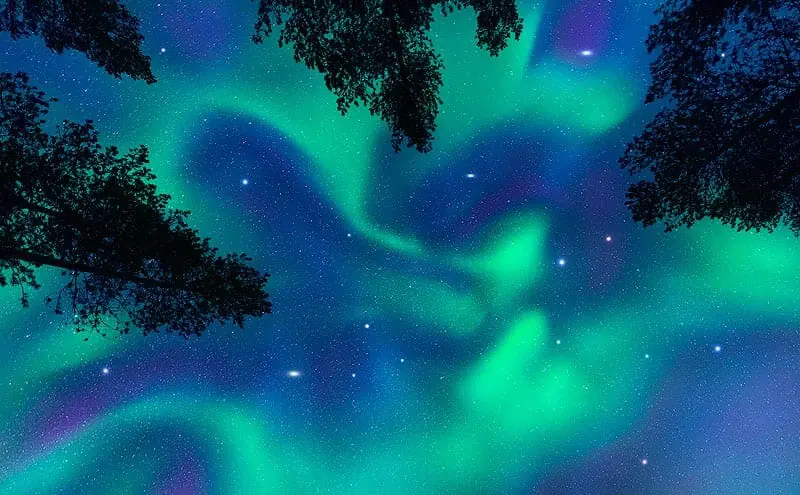 Kelvin Values of 3000-5000 work well for northern lights photography.
Use the Kelvin white balance setting on your camera to control this function.
My White Balance Shooting Technique Video has detailed info on this topic.
The goal is to “neutralize” the color on the camera so it matches exactly what you see with your eyes.
The colors of a successful image should be very close to what you see in front of you, in the sky.
Lens Focal Length
Full Frame Focal Lengths: 14-50mm work great for northern lights photography.
Crop Focal Lengths: 10-40mm will work well for northern lights photography.
F-Stop / Aperture Settings
I recommend f-stop settings of f/2.8 to f/4 for northern lights photography.
The following section will go in-depth on why these are important.
My Aperture & Depth of Field Guide provides a great resource in the details of f-stop for all types of outdoor photography.
Shutter Speed / Exposure Time
I recommend shutter speeds of 1 second to 15 seconds for northern lights photography.
This will really depend on how quickly the aurora is moving through the sky.
The following section covers this in detail.
Reference my Shutter Speed Guide for an overview of shutter speed basics for outdoor photography.
ISO Settings
ISO settings of 500-2000 work well for northern lights photography.
This will all depend on how bright the lights are in the sky.
This is covered in the following sections.
Reference my ISO Photography Guide if you need to learn more about the basics.
In-Camera Noise Reduction Settings
Some cameras have settings to apply noise reduction, in the camera.
If you have these settings, turn them OFF.
They are only applied to JPEGS.
While shooting in RAW they just waste battery.
F-Stop Settings
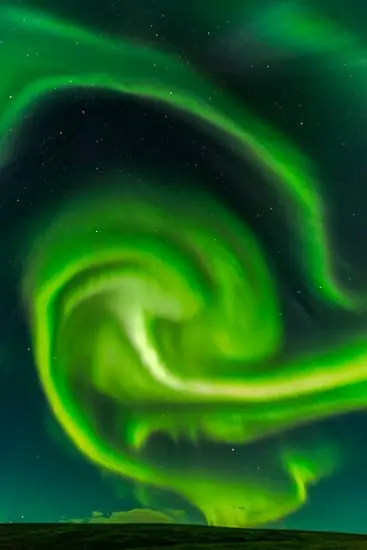 f/2.8 is the best aperture setting for aurora photography.
The wide lens opening allows your camera’s sensor to collect a lot of light from the scene while keeping your ISO and image noise, low.
You can still keep the foreground acceptably sharp while shooting at f/2.8, but can also experiment with f/3.5 or f/4.
I don’t recommend opening your aperture any wider than f/2.8.
With very wide apertures it becomes hard to focus at night, over the entire depth of field.
The key is allowing the most amount of light to hit your camera’s sensor in the least amount of time, in turn maintaining a lower ISO, inducing less image noise.
Shutter Speed & ISO Settings
I grouped shutter speed & ISO together due to the fact that you’ll need to change them both at the same time since they directly reflect on one another.
After a few hours of photographing the Northern Lights, using the skill sets provided below, you will easily be able to adjust both of these settings simultaneously, obtaining great results.
Ask yourself the following questions to determine the camera shutter speed and ISO settings for northern lights photography.
Question 1: How Quickly is the Aurora Moving Through the Sky?
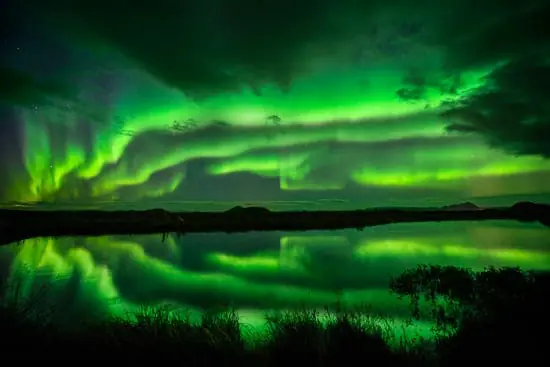 With high-level aurora activity, the Northern lights can move through the sky very quickly.
To capture all of the nice color and detail in this scene, without your photo looking like a “blob of color”, you’ll need to shoot at a much shorter exposure time than if the aurora was moving slowly through the sky.
Think about it this way…
If the aurora is moving very quickly through the sky, and you take a photo at a 30-second exposure, instead of seeing the instantaneous view that your eyes see, your camera will actually pick up the entire movement of the aurora through the sky over that 30-second time frame.
The details and colors will become the average of the 30-second exposure for each pixel.
As seen with long exposures of water or cloud scenes, all of the color and movement mixes together.
This is not the goal for photographing the Northern Lights, we want, vivid color and nice detail.
Keeping your shutter speed between 3-25 seconds will work very well for shooting the northern lights.
When the aurora is moving quickly, try 3-7 second exposures.
When it’s moving slower, or it’s not as bright, try 10-25 seconds.
You can increase or decrease these times as you see fit, they are just rules of thumb!
Experimenting and taking as many shots as possible, at different shutters speeds will help you to learn what works best!
Question 2: How Bright is the Aurora in the Sky?
This section assumes that you are already well versed in the basic technical aspects of the photography histogram as taught in depth on this page.
You can also reference the following histogram video, if you need a refresher, prior to moving on.
All of the other settings have now be adjusted.
It’s time to select an ISO value.
Since the northern lights changes color, speed, and brightness all throughout the night, you’ll also need to constantly adjust your camera settings to match this dynamic situation.
The goal is to keep your ISO low as possible, while still shooting at the correct f-stop and shutter speed to correctly expose the scene.
Here are the steps to adjust ISO:
Steps 1: Start out shooting with an ISO of 400-800 and take a practice shot.
Step 2: If your practice shot wasn’t bright enough, increase your ISO to approximately 1200 and take a practice shot.
Step 3: If the photo still isn’t bright enough, continue to increase your ISO until it is. I usually shoot in the ISO range of 800-4000.
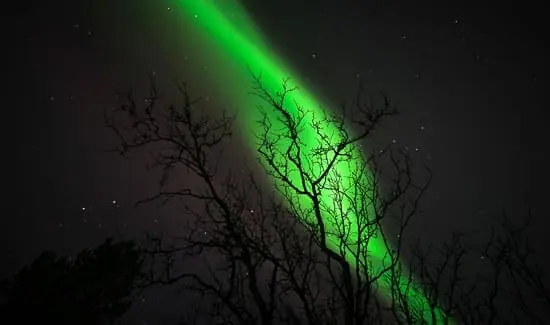 Always keep in mind that your image should not be (in terms of the histogram ) correctly exposed, you are shooting at night, so the image can also be dark.
You can bring out nearly all of this dark detail in photo editing.
Always watch your histogram to make sure you’re not losing any dark detail off of the left-hand side.
You will also want to make sure that you’re not “blowing out” any highlights, meaning the histogram isn’t dropping off the right-hand side.
Let’s look at and analyze a few example images so you can see exactly what I’m talking about.
The following images are straight out of my camera ( RAW Files ), and exported to JPEG format for display.
This is how the images looked on the back of my camera screen after taking them.
Image Example 1 – Overexposure
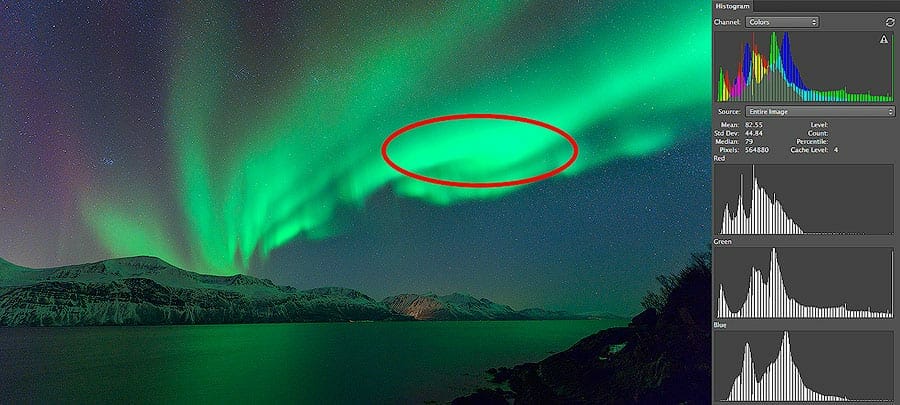
Camera Settings: 10 Seconds, f/2.8 ISO2500
When photographing the Northern Lights it’s always better to underexpose the photo as not to blow out the green channel.
When you’re taking photos of the aurora, it’s essential to watch your color histogram, even more than your luminosity histogram.
It is very easy to “blow out” or overexpose the green channel, which makes your photo lose color and detail.
This can be seen as circled in red on the graphic above.
You will also want to watch the Luminance Histogram to make sure you’re not blowing out or overexposing the photo as a whole.
Image Example 2 – Correct Exposure
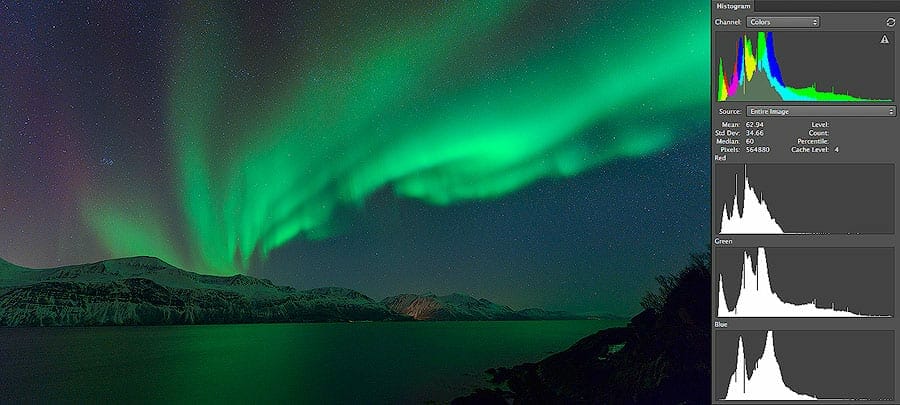
Camera Settings: 10 Seconds, f/2.8, ISO2000
All of the color channels and luminance channels fall within the left-hand and right-hand bounds of the histogram, meaning we’re not losing any detail in the dark areas or blowing out in highlights in the light areas.
Notice that the histogram is still shifted very far to the left.
This is okay and makes sense. The image was taken at night, so the histogram will always look like this.
Final Words of Advice
The only guaranteed way to become good at anything is trying it for yourself and see what works.
After a few nights practicing the provided skills under the night sky you will easily grasp all of the concepts.
Always remember you should never increase the ISO to obtain a brighter image prior to opening your aperture to the widest possible value ( f/2.8 works great ), and dialing in the maximum exposure time while still maintaining nice detail in the Northern Lights.
You may also enjoy my other tutorials on Milky Way Photography & Star Trails Photography.
How to 10X Your Learning Speed
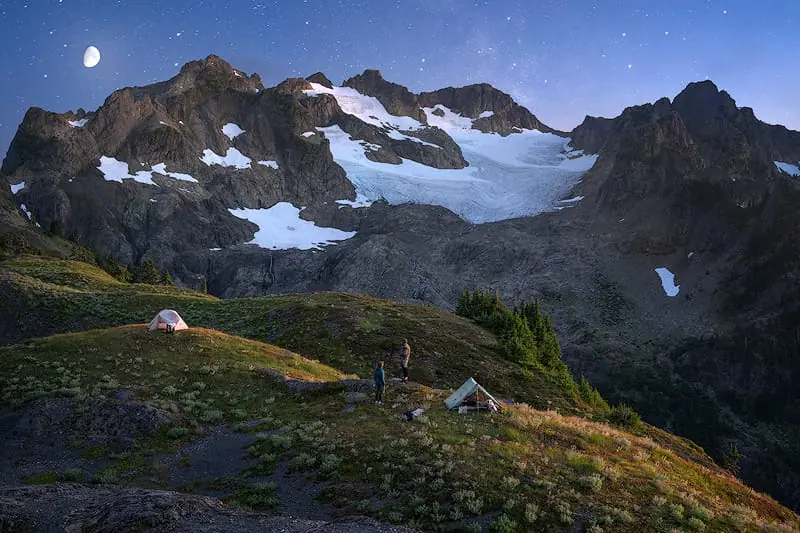
The best way to improve quickly is by learning firsthand from someone that’s optimized their skills, over a decade or more through trial and error.
You can’t read blogs and watch internet videos to do this.
I offer workshops & tours for all skill, fitness, and age levels.
Over a 3-day weekend, I can teach you everything I know, plus provide 1 on 1 feedback that will quickly improve your skills.
I’ve seen students learn more in a 3-day trip than they have in 20 years of trying to learn on their own.
Check out my workshops & tours, right here.